How to make a Shirt cake


Watch how to make a the perfect men's shirt cake
Let’s see how I made this shirt cake step by step.
The cake
It’s a rectangular cake 9’X11’ inches, two layers sandwiched and covered with buttercream.
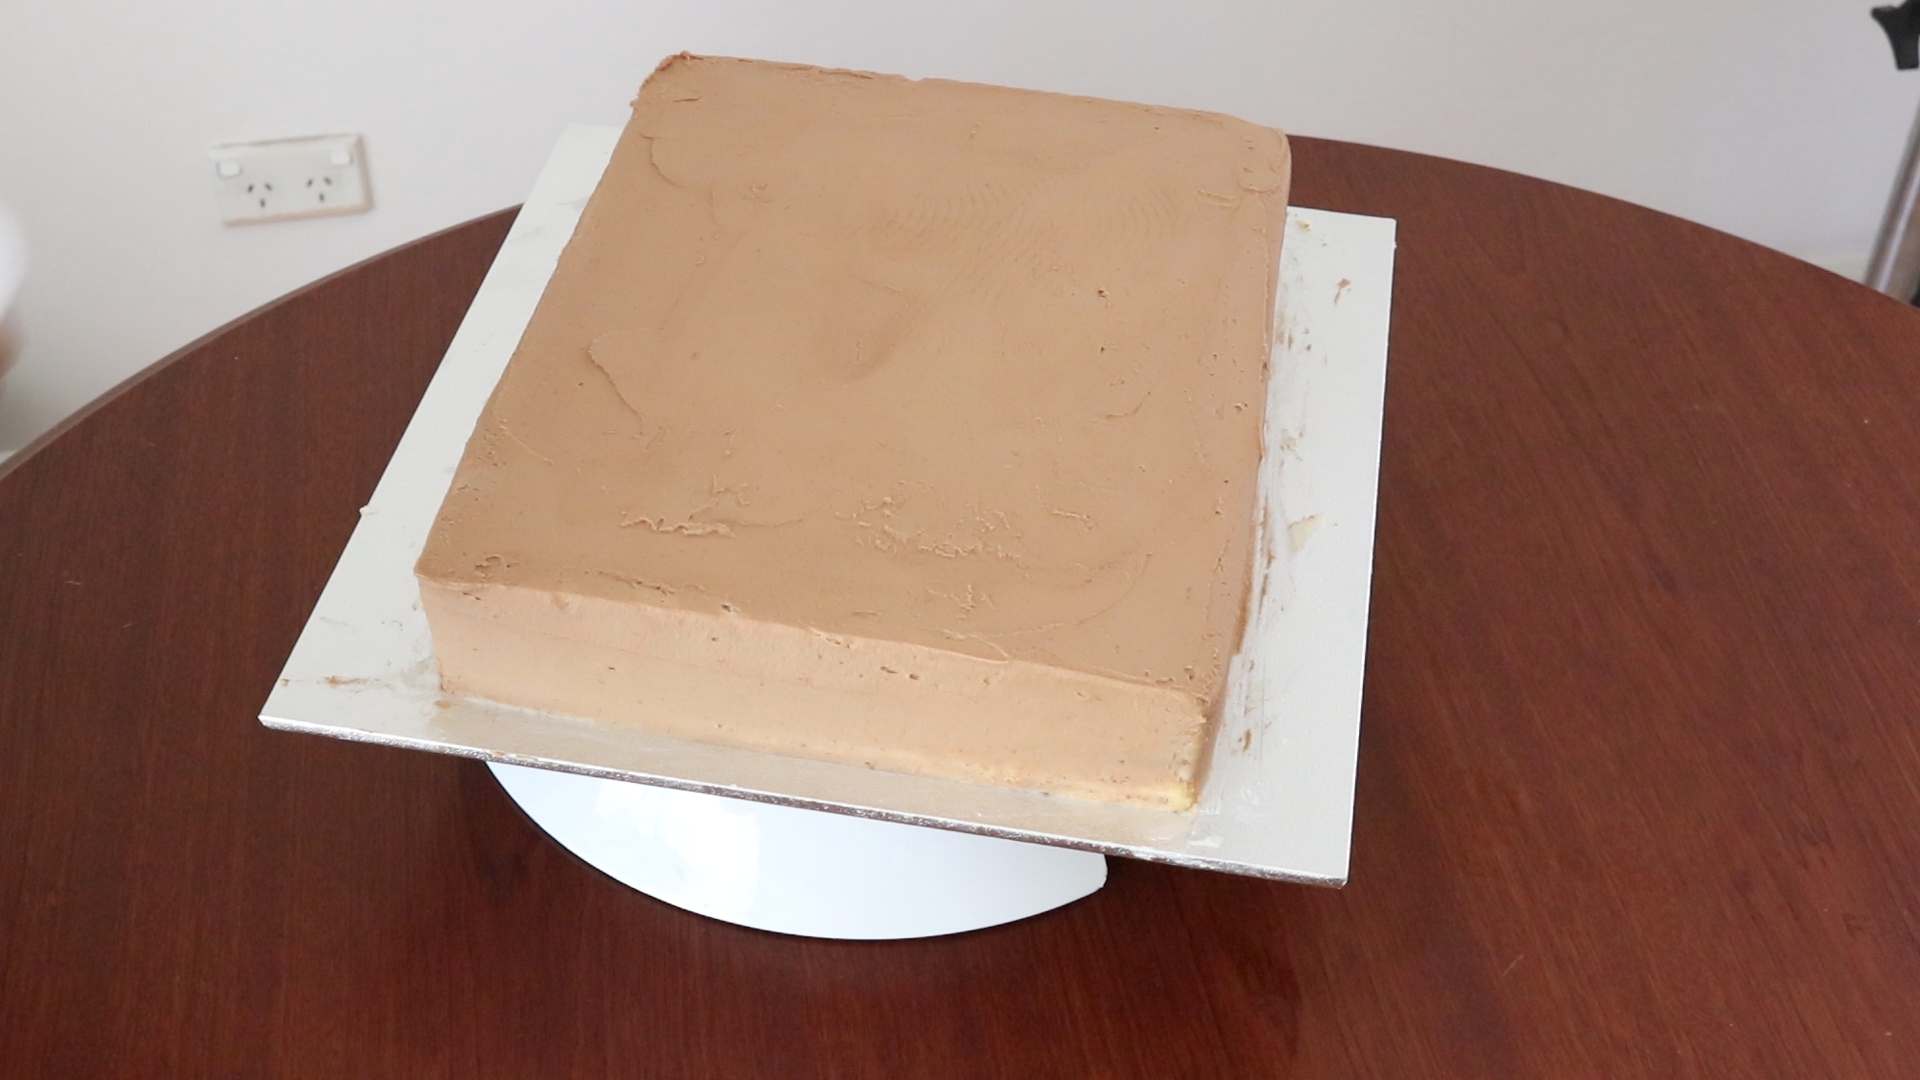
Once I smoothed the buttercream as much as possible, I refrigerated the cake for 20 minutes for it to set.
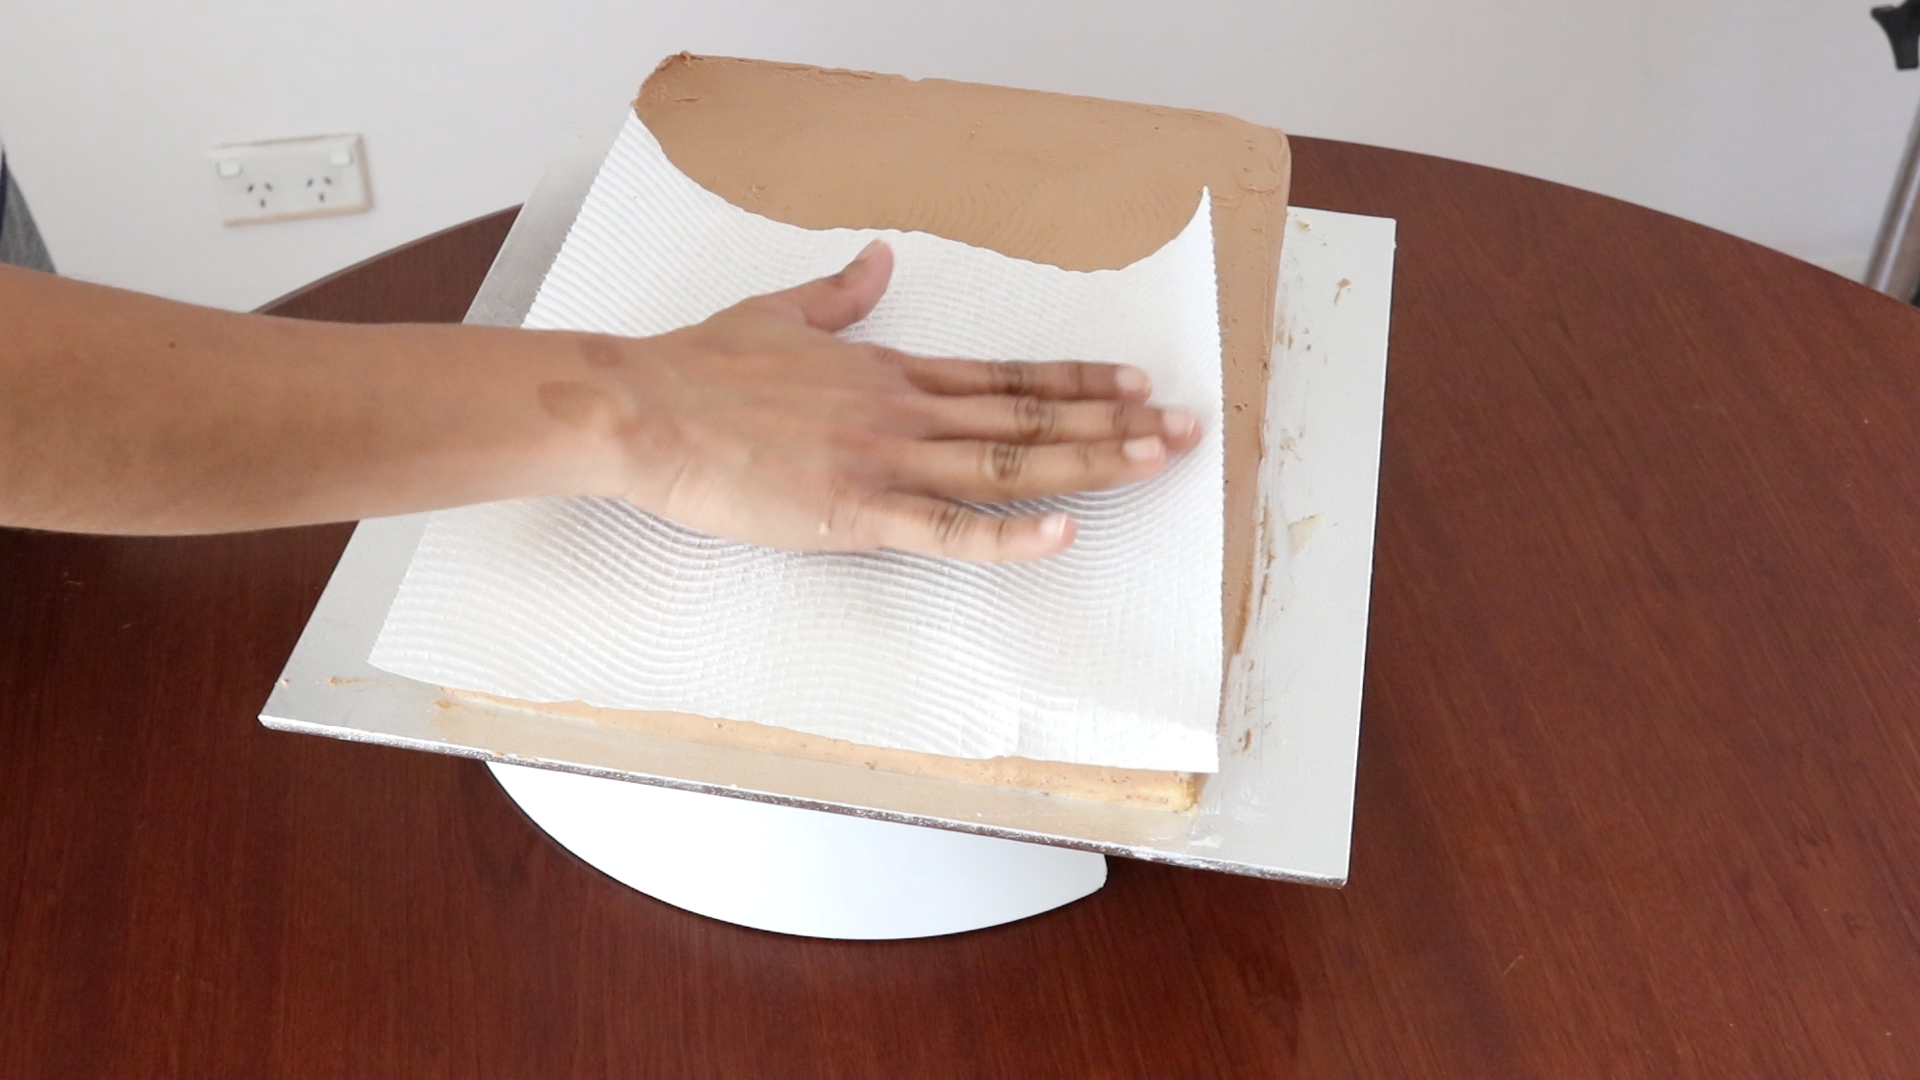
Then I used a paper towel to smooth out any imperfections. This imprints the pattern of the paper towel on the buttercream, but it’s going to be covered in fondant so it doesn’t really matter.
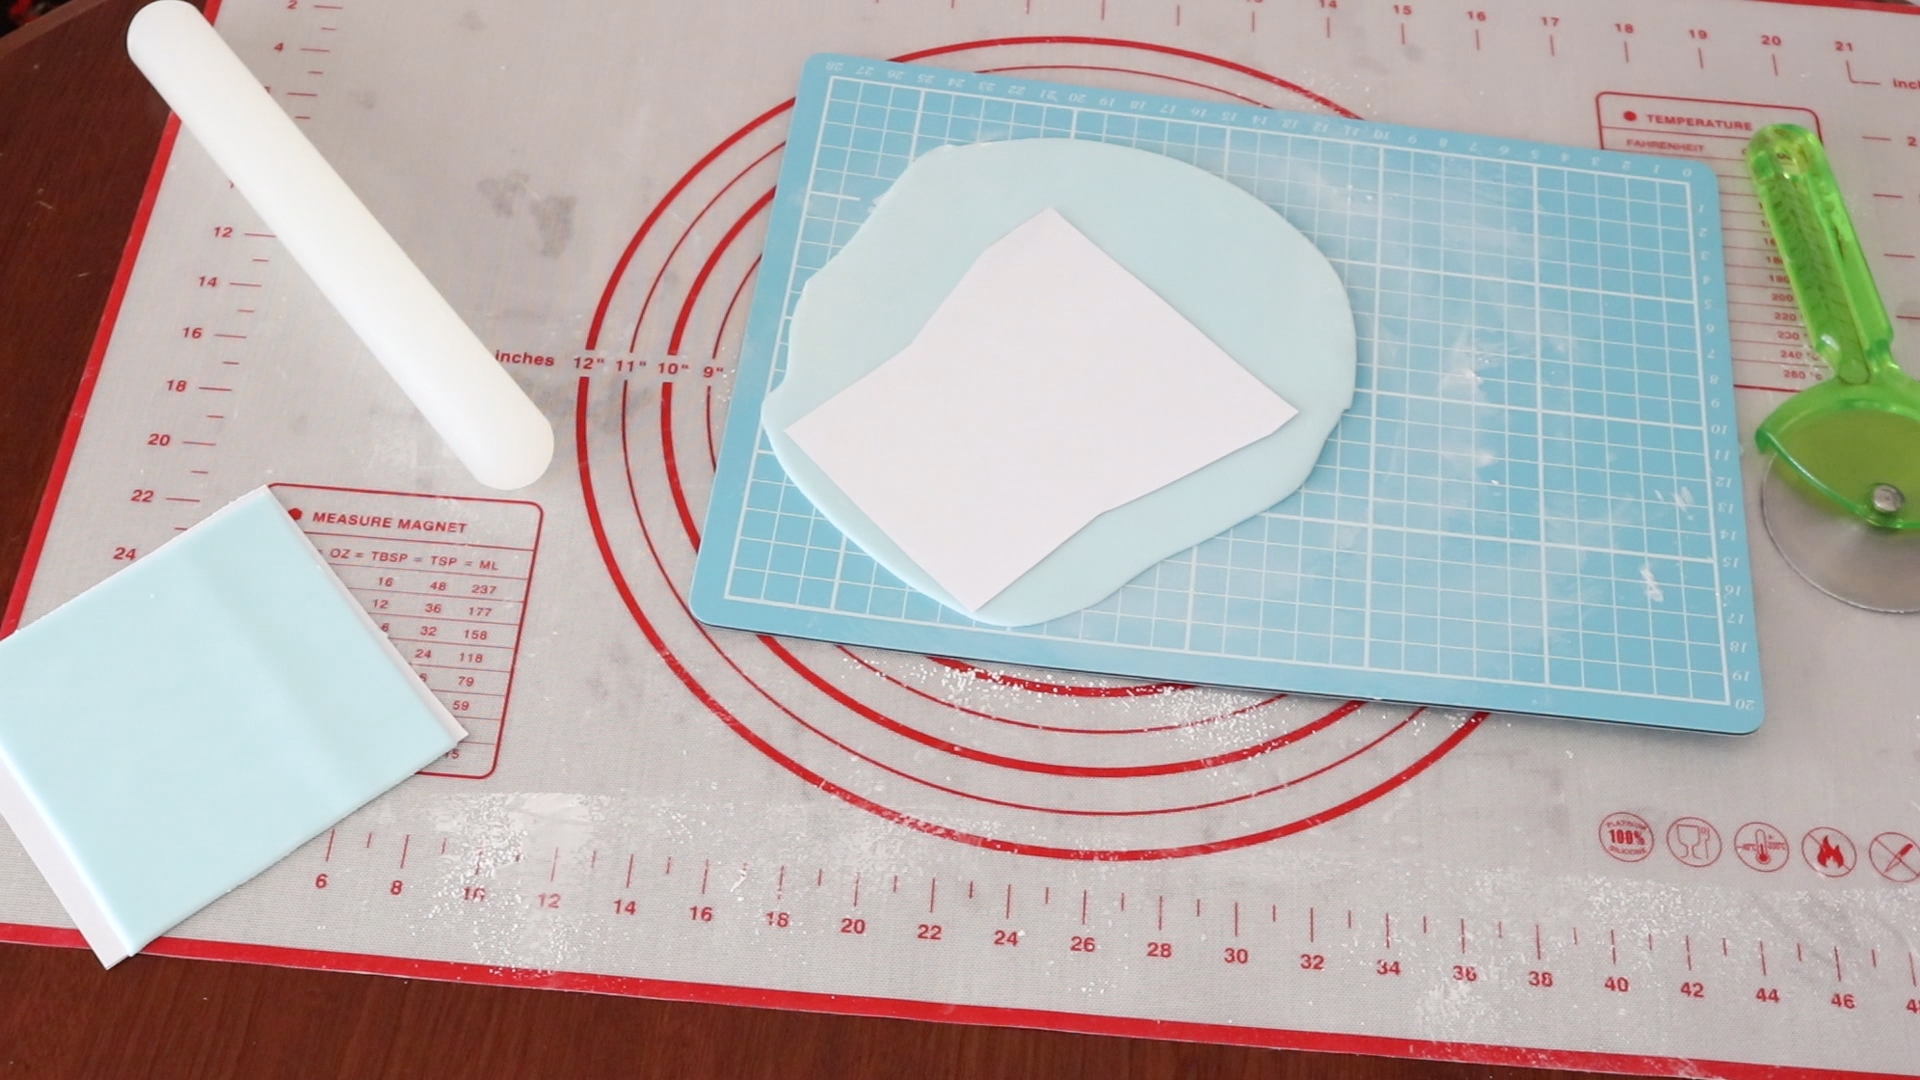
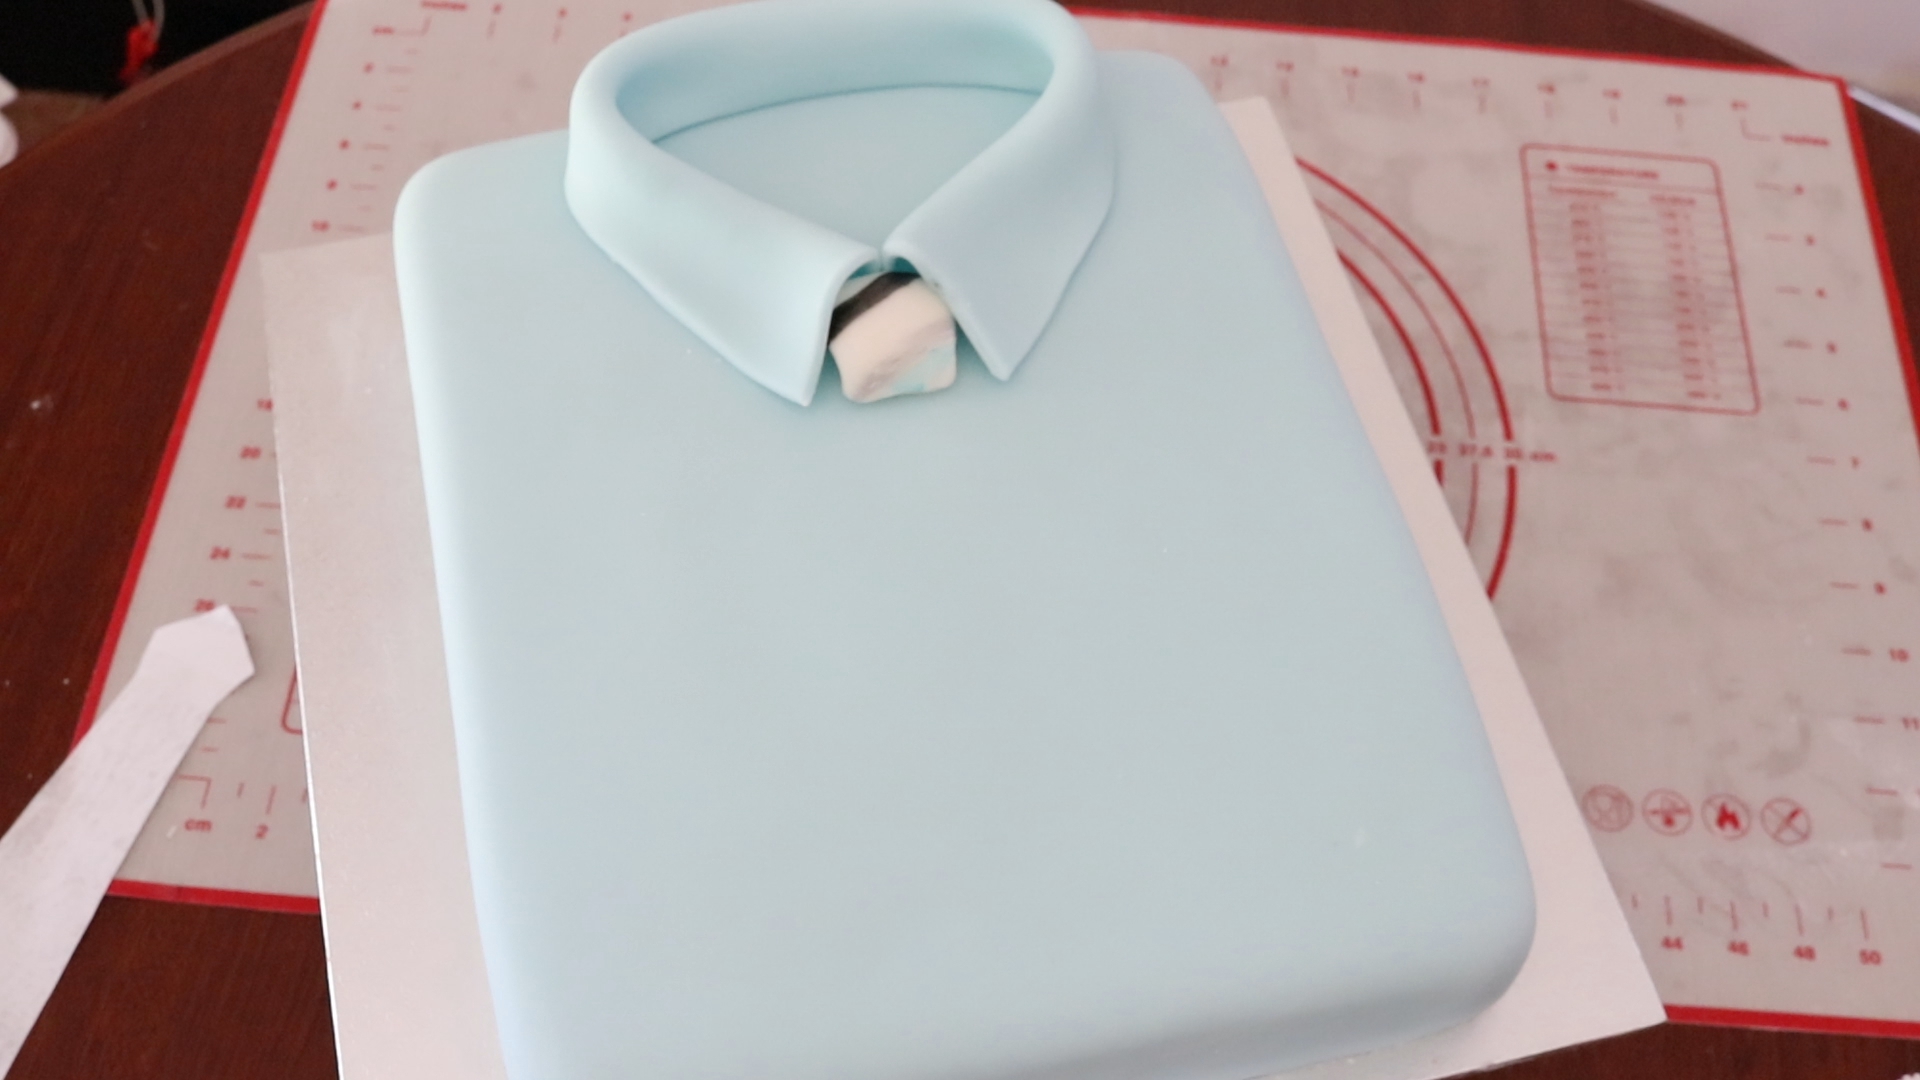
Then I covered the whole cake with light blue colour fondant.
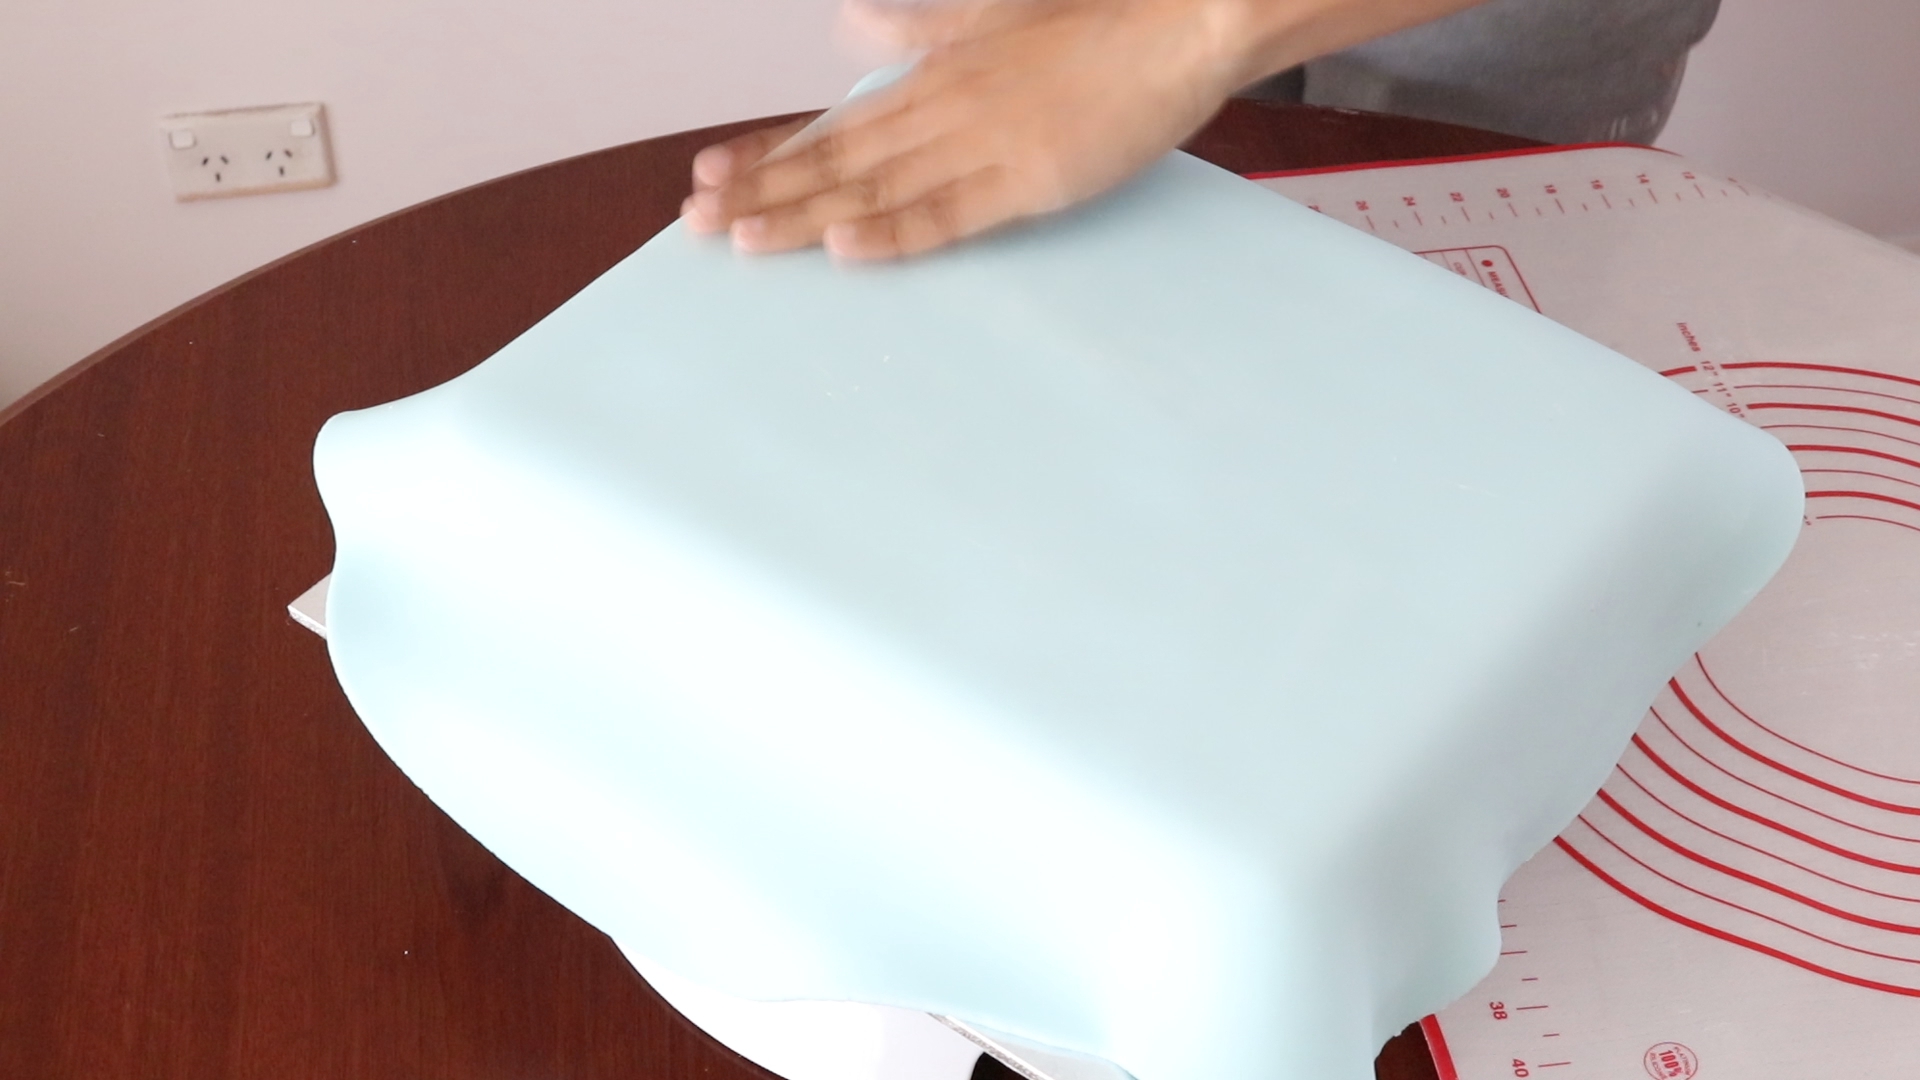
Smooth out the top first, make sure there are no air pockets trapped underneath.
Then work on the sides and corners.
I don’t want sharp edges on this because it’s a shirt, so it’s very easy to smooth out the edges and corners.
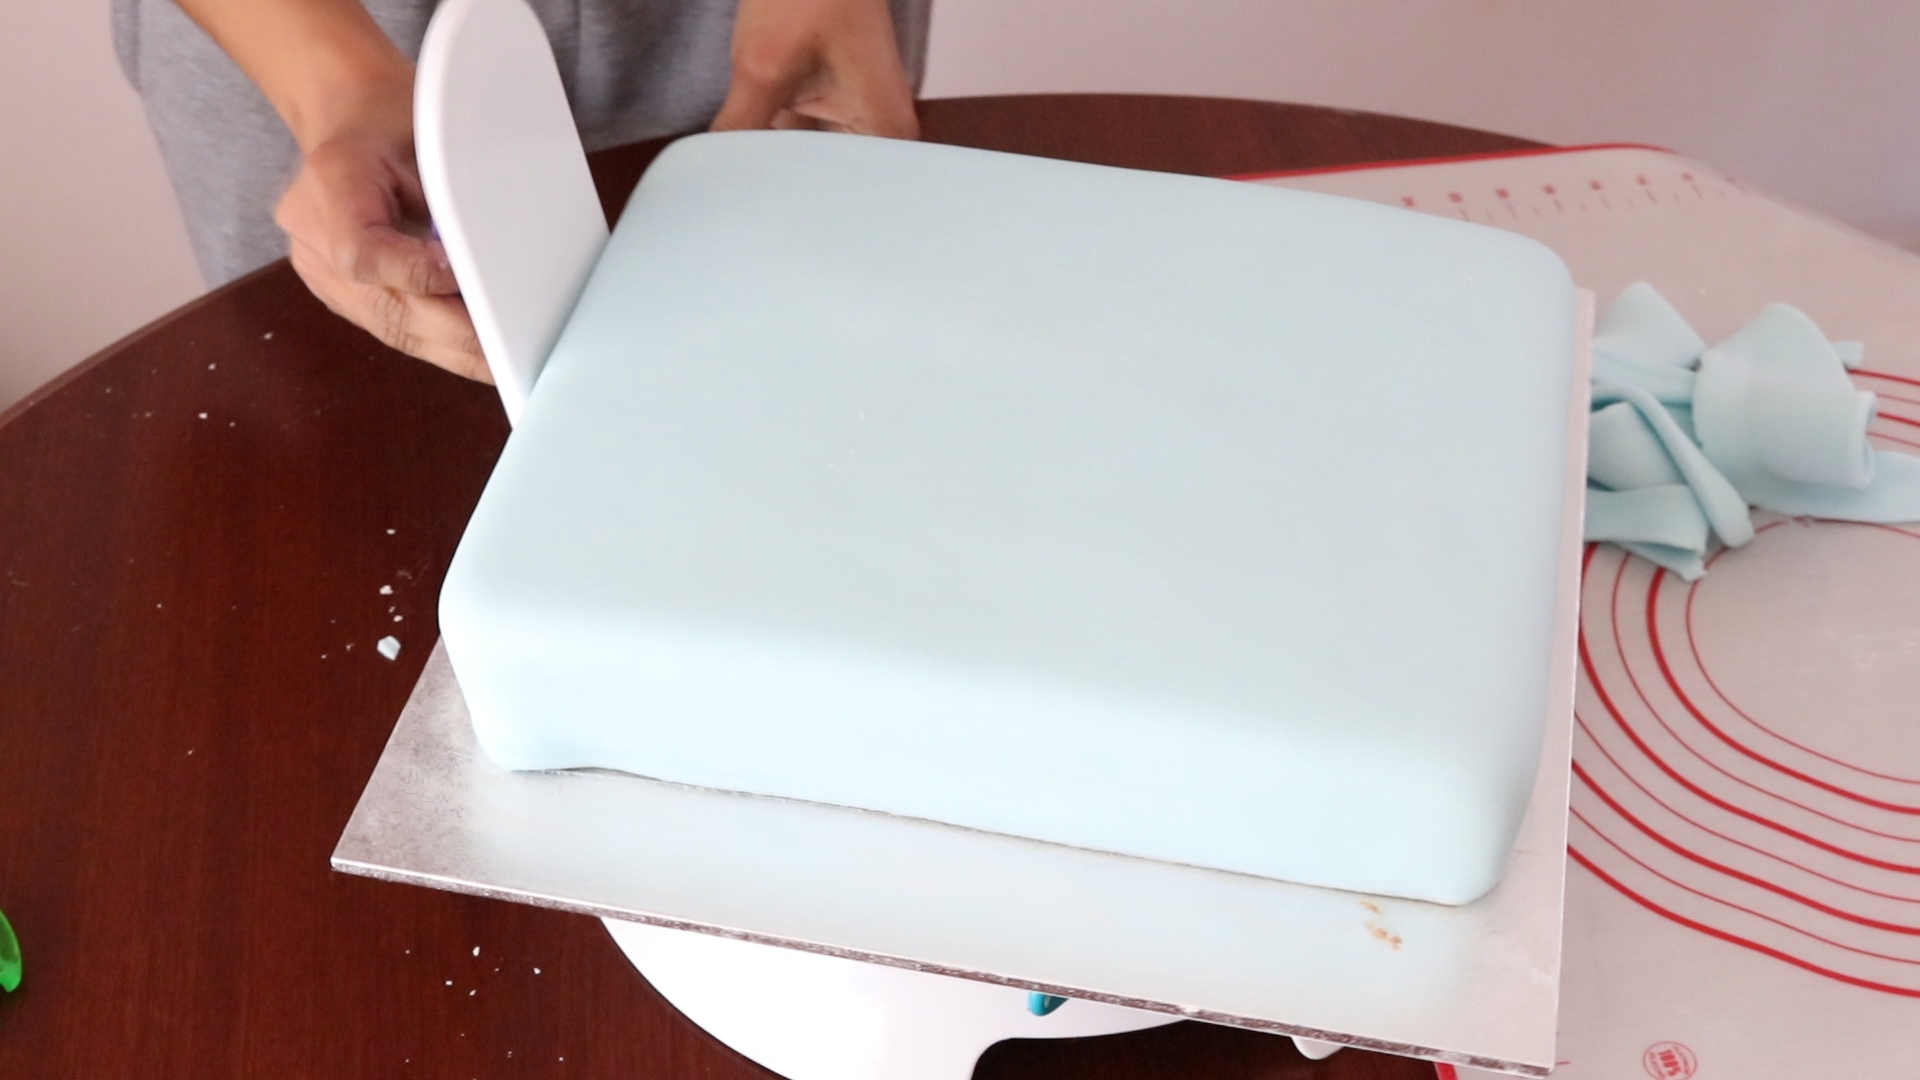
Cut out the excess fondant and it’s done.
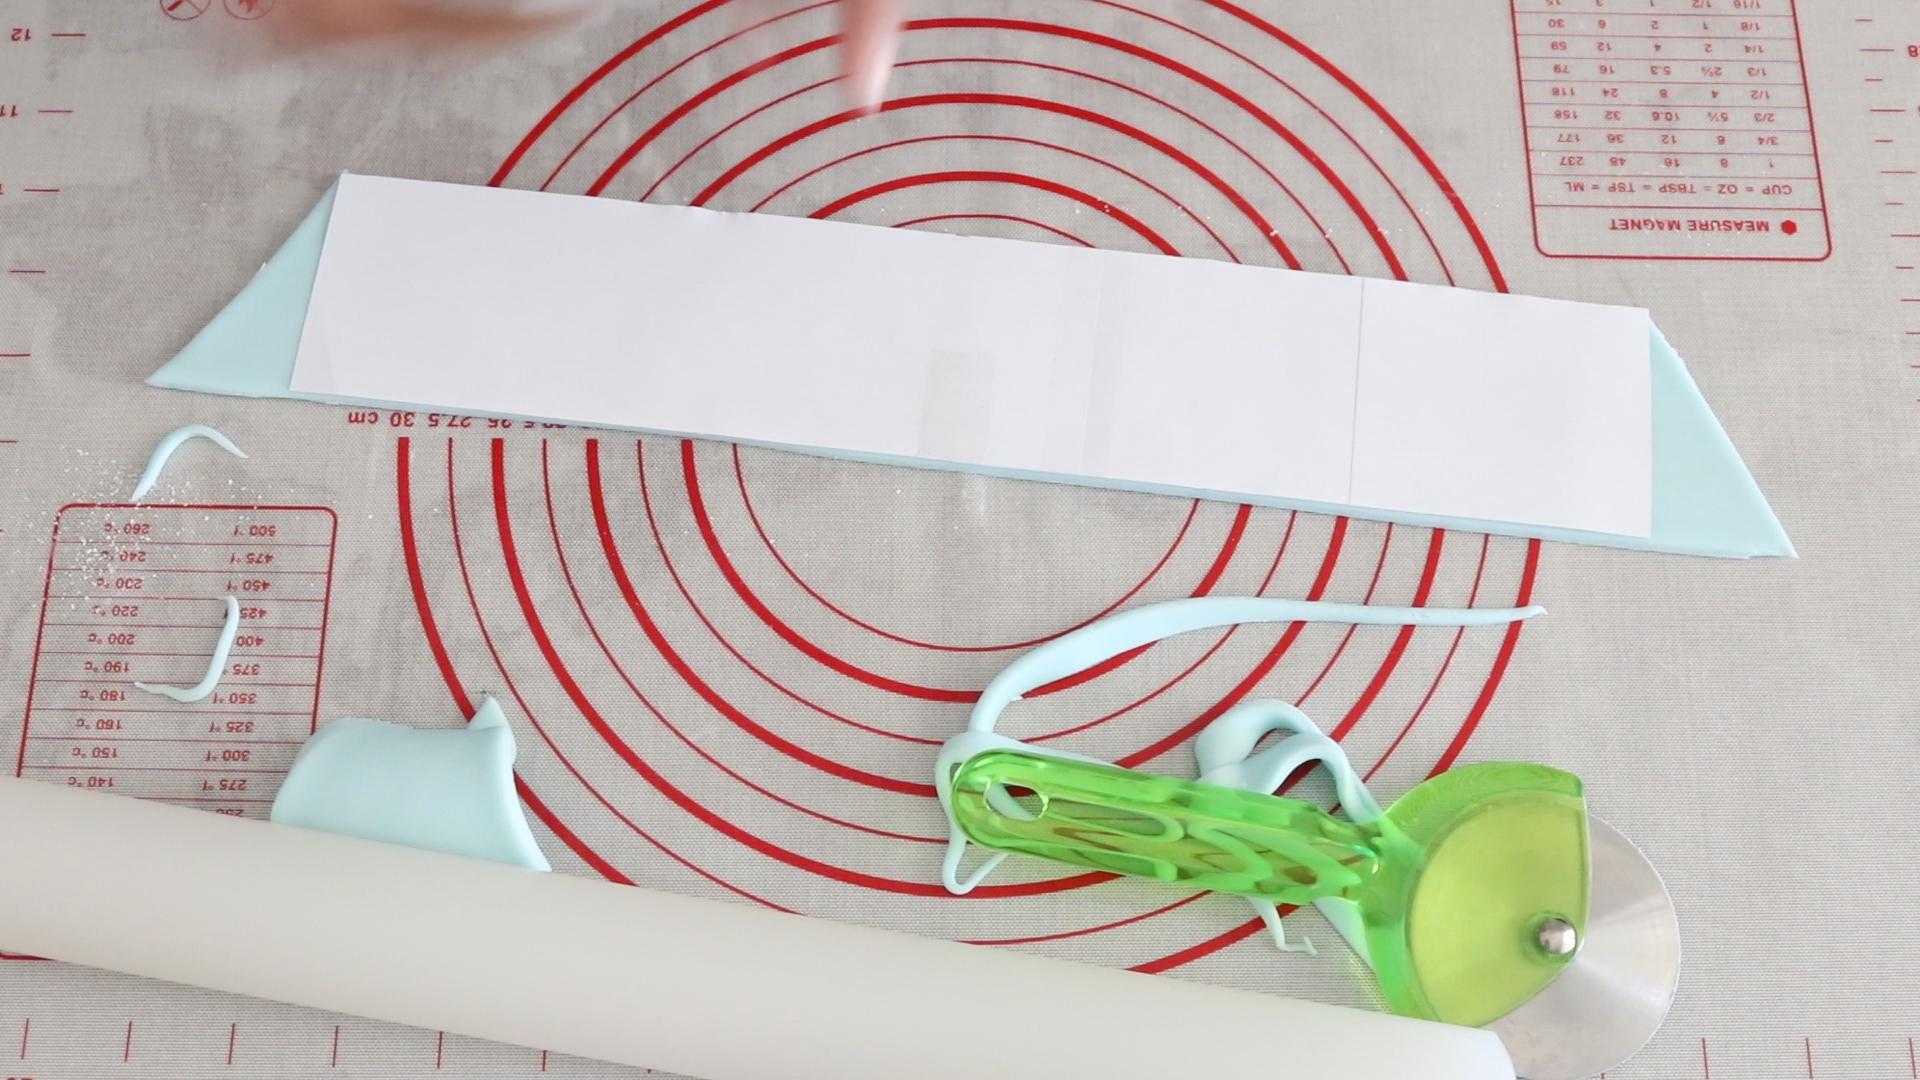
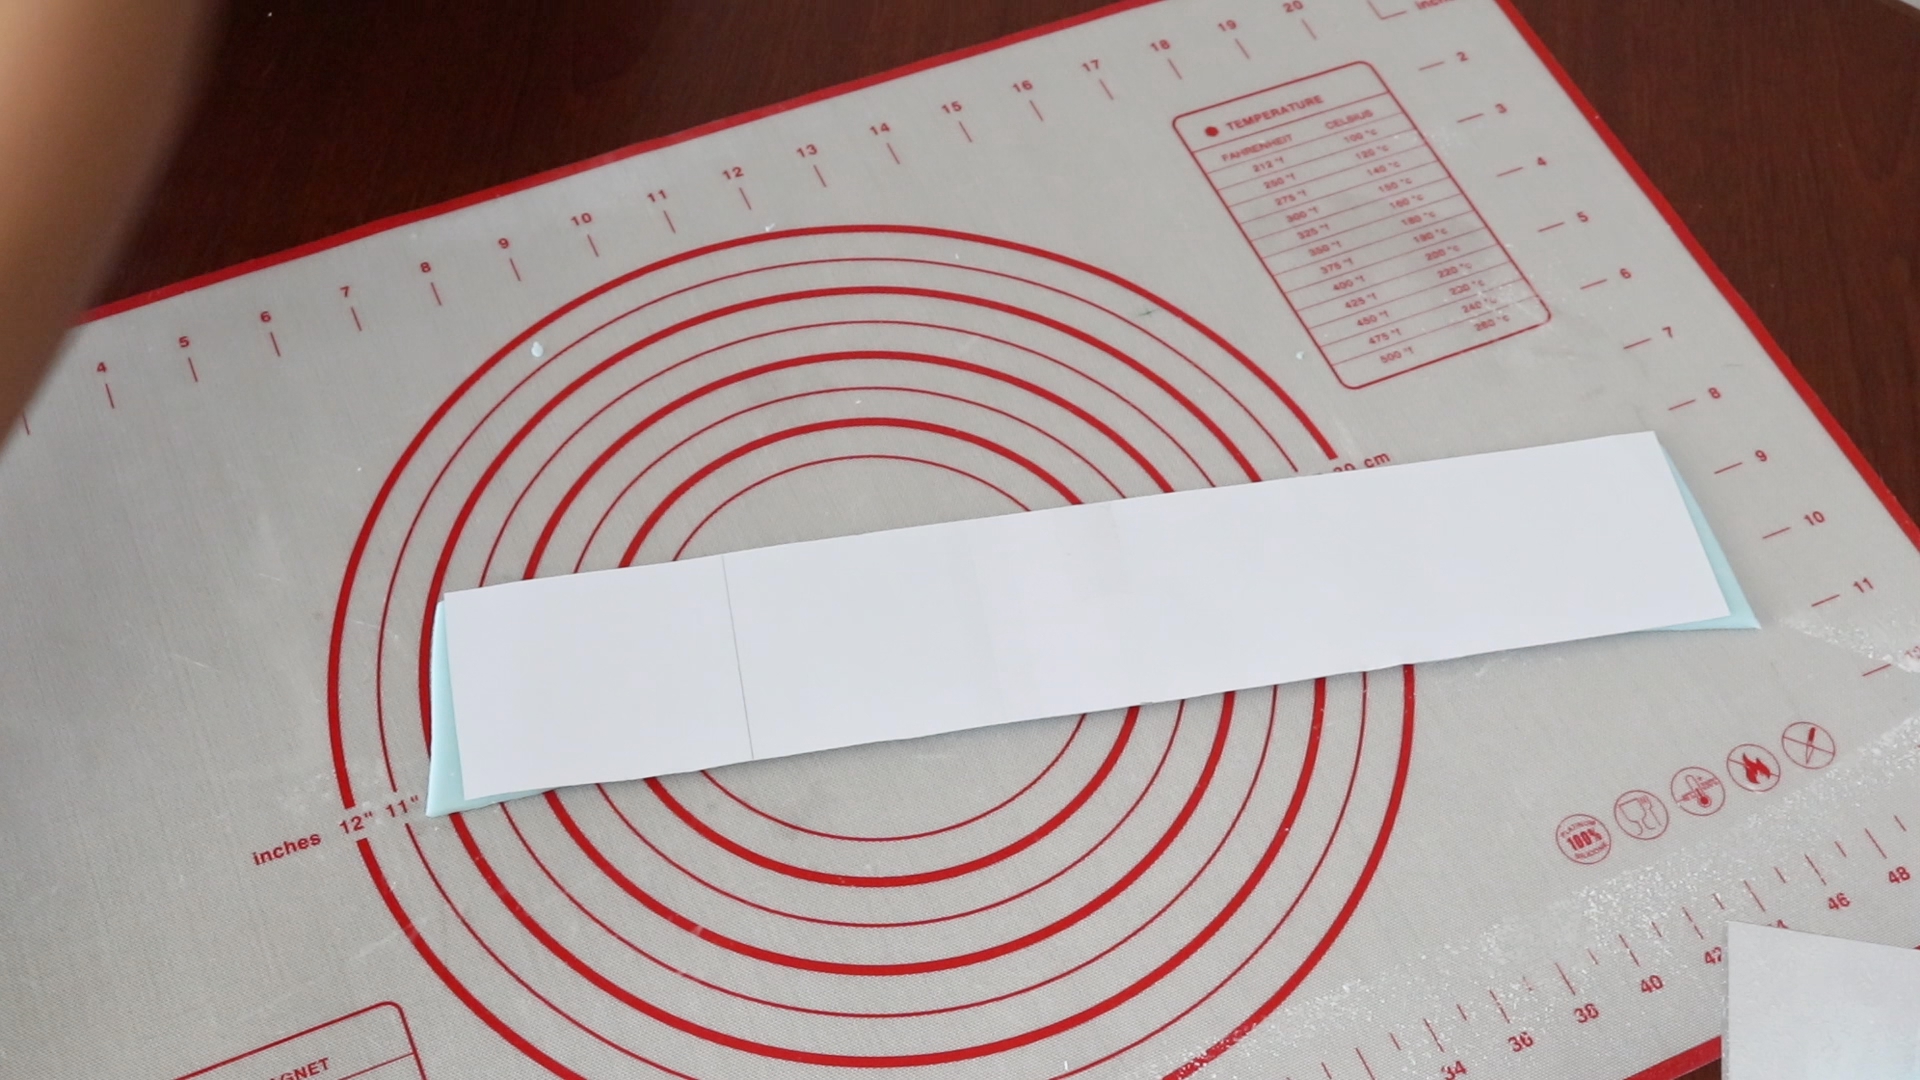
Making the collar
I initially cut the collar with an angle at the end, like in the real ones, but then felt like it’s a little too much so ended up straightening the ends just like I planned in the template.
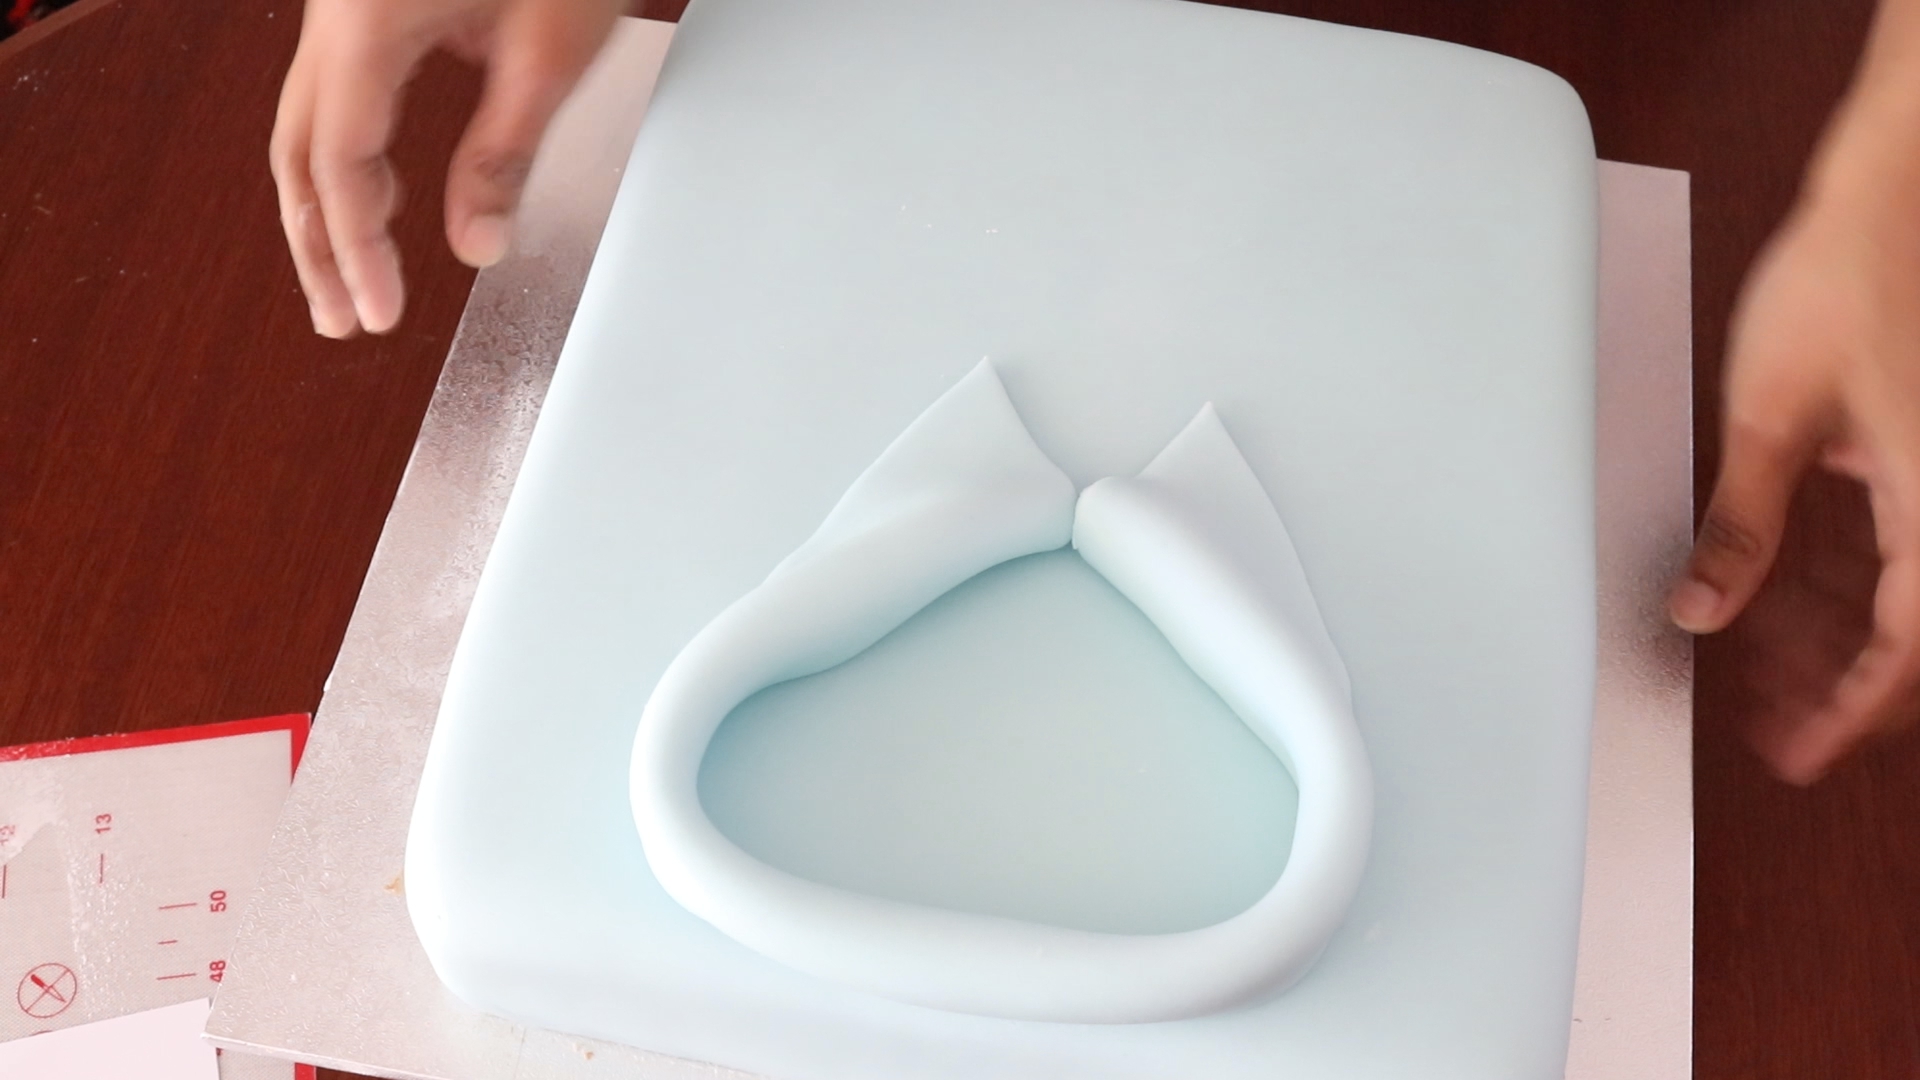
![]() Just one more thing to note here is that the collar may stretch when you lift it up after cutting out… or it may not, depends on the consistency of your fondant. Mine did stretch a little bit because the fondant was quite soft and I forgot to mix some tylose to it before rolling out. You could add a little bit of tylose powder to the fondant to stiffen it if you want, and it would minimize the stretching issue.
Just one more thing to note here is that the collar may stretch when you lift it up after cutting out… or it may not, depends on the consistency of your fondant. Mine did stretch a little bit because the fondant was quite soft and I forgot to mix some tylose to it before rolling out. You could add a little bit of tylose powder to the fondant to stiffen it if you want, and it would minimize the stretching issue.
It’s just a rectangle. 9cm x 10cm
Sleeve
I cut the sleeve in two pieces, first the cuff and then the rest of the sleeve.
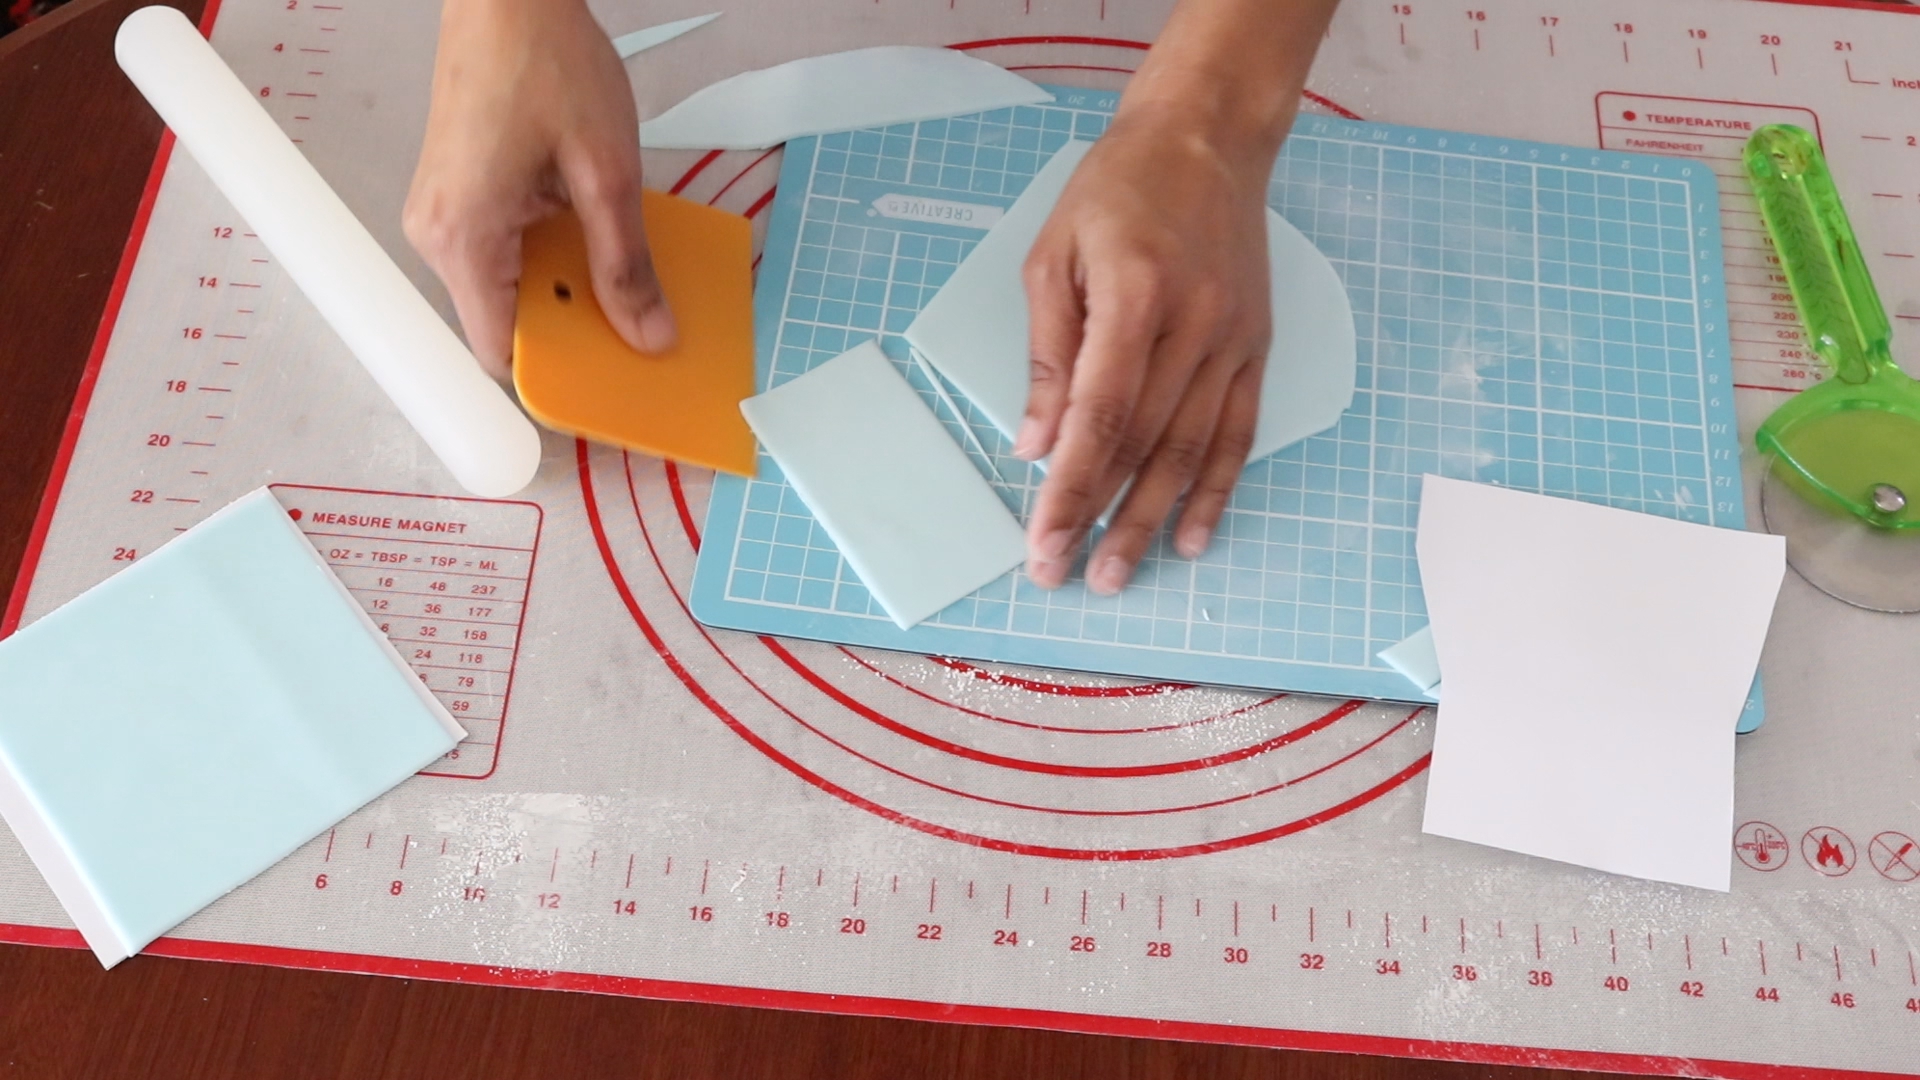
The sleeve should be a tad wider than the cuff because I’m going to add a tiny pleat to it.
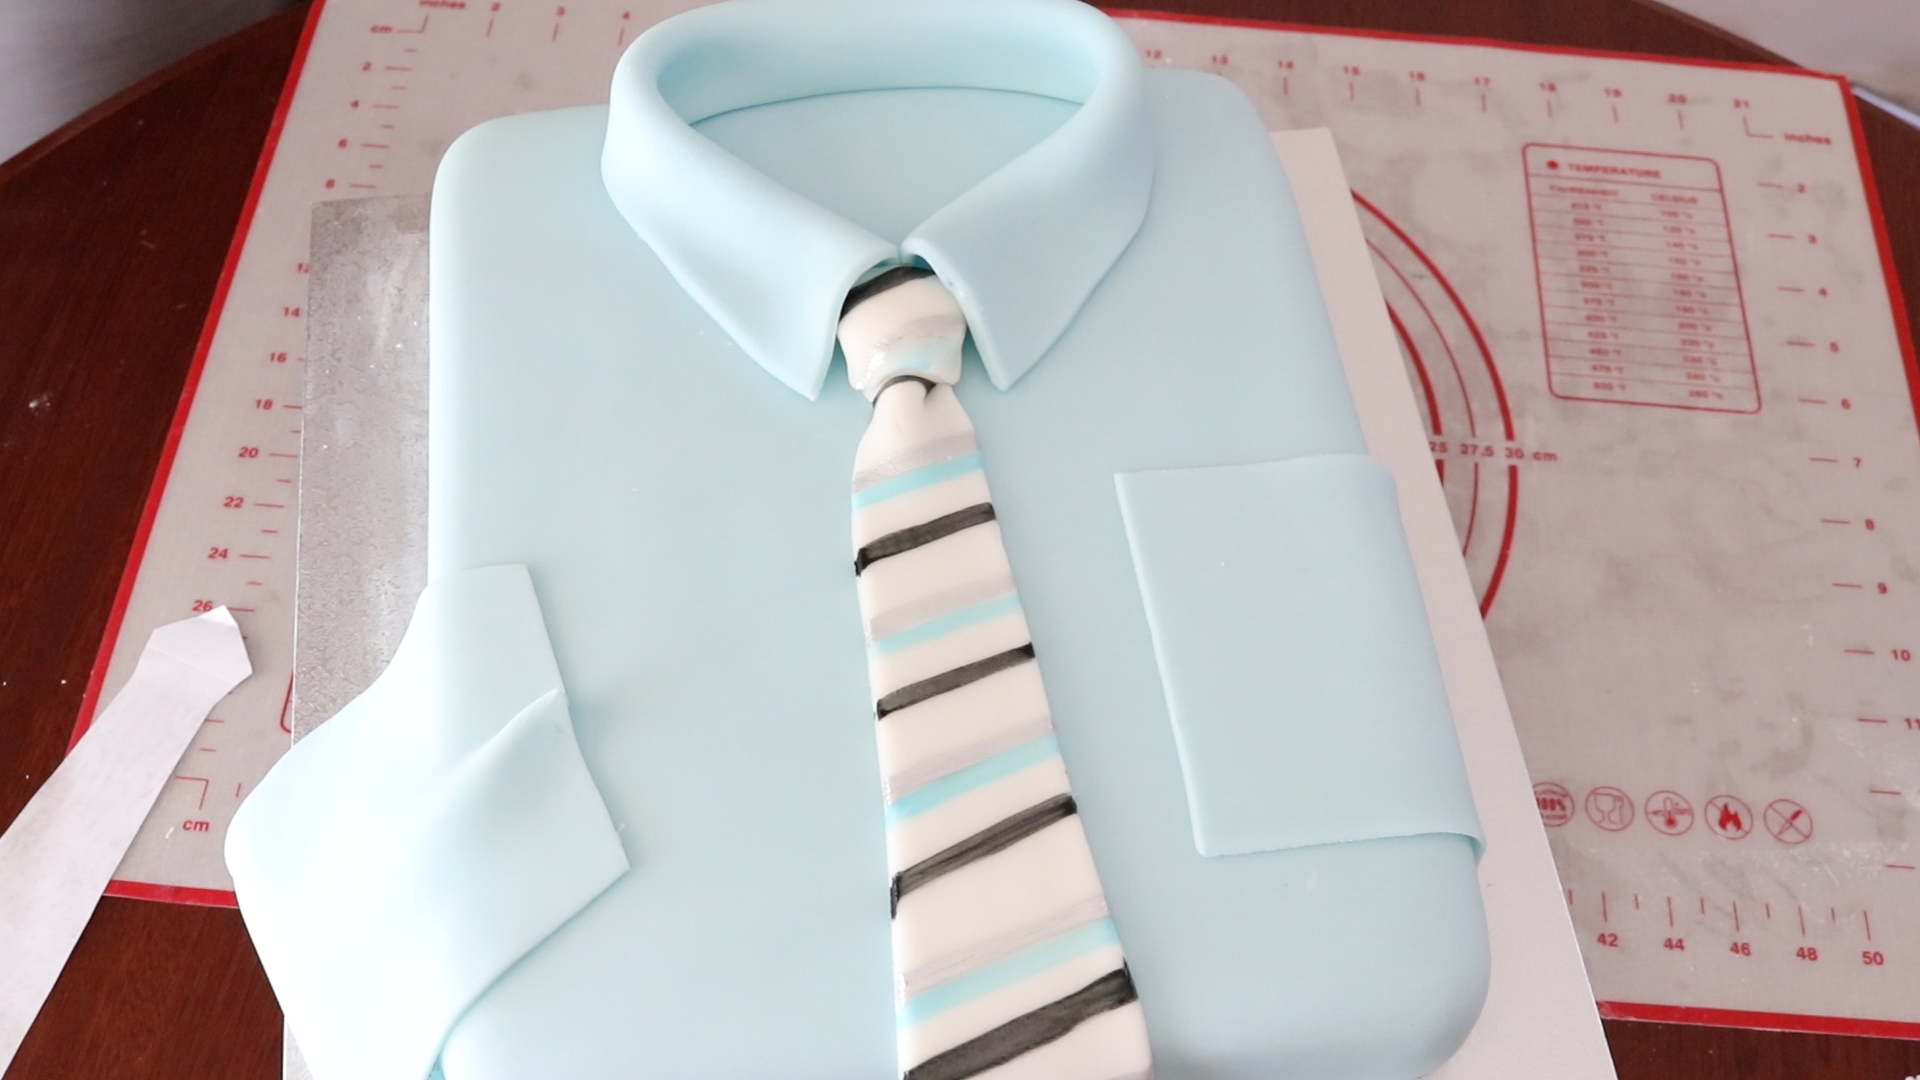
The tie
I’m doing this in two pieces.
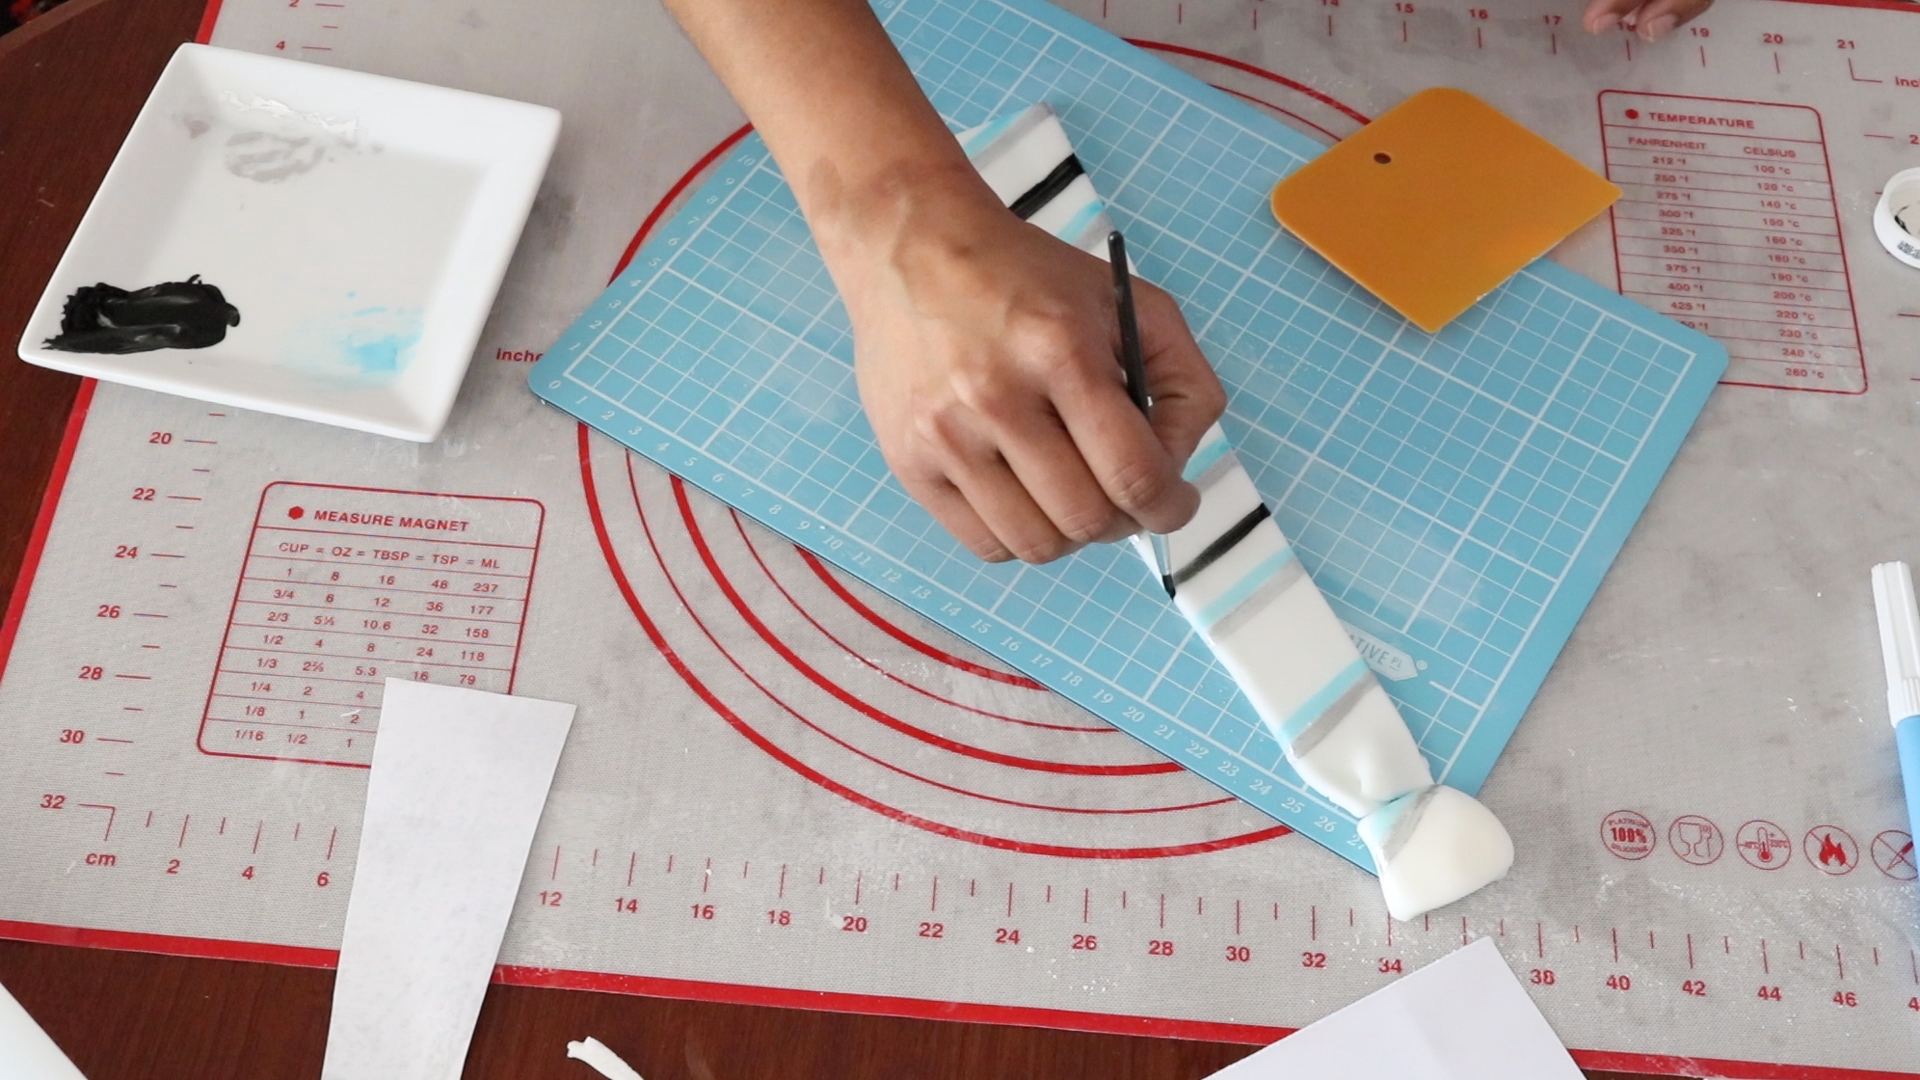
First, we need a chunky bit of fondant for the knot.
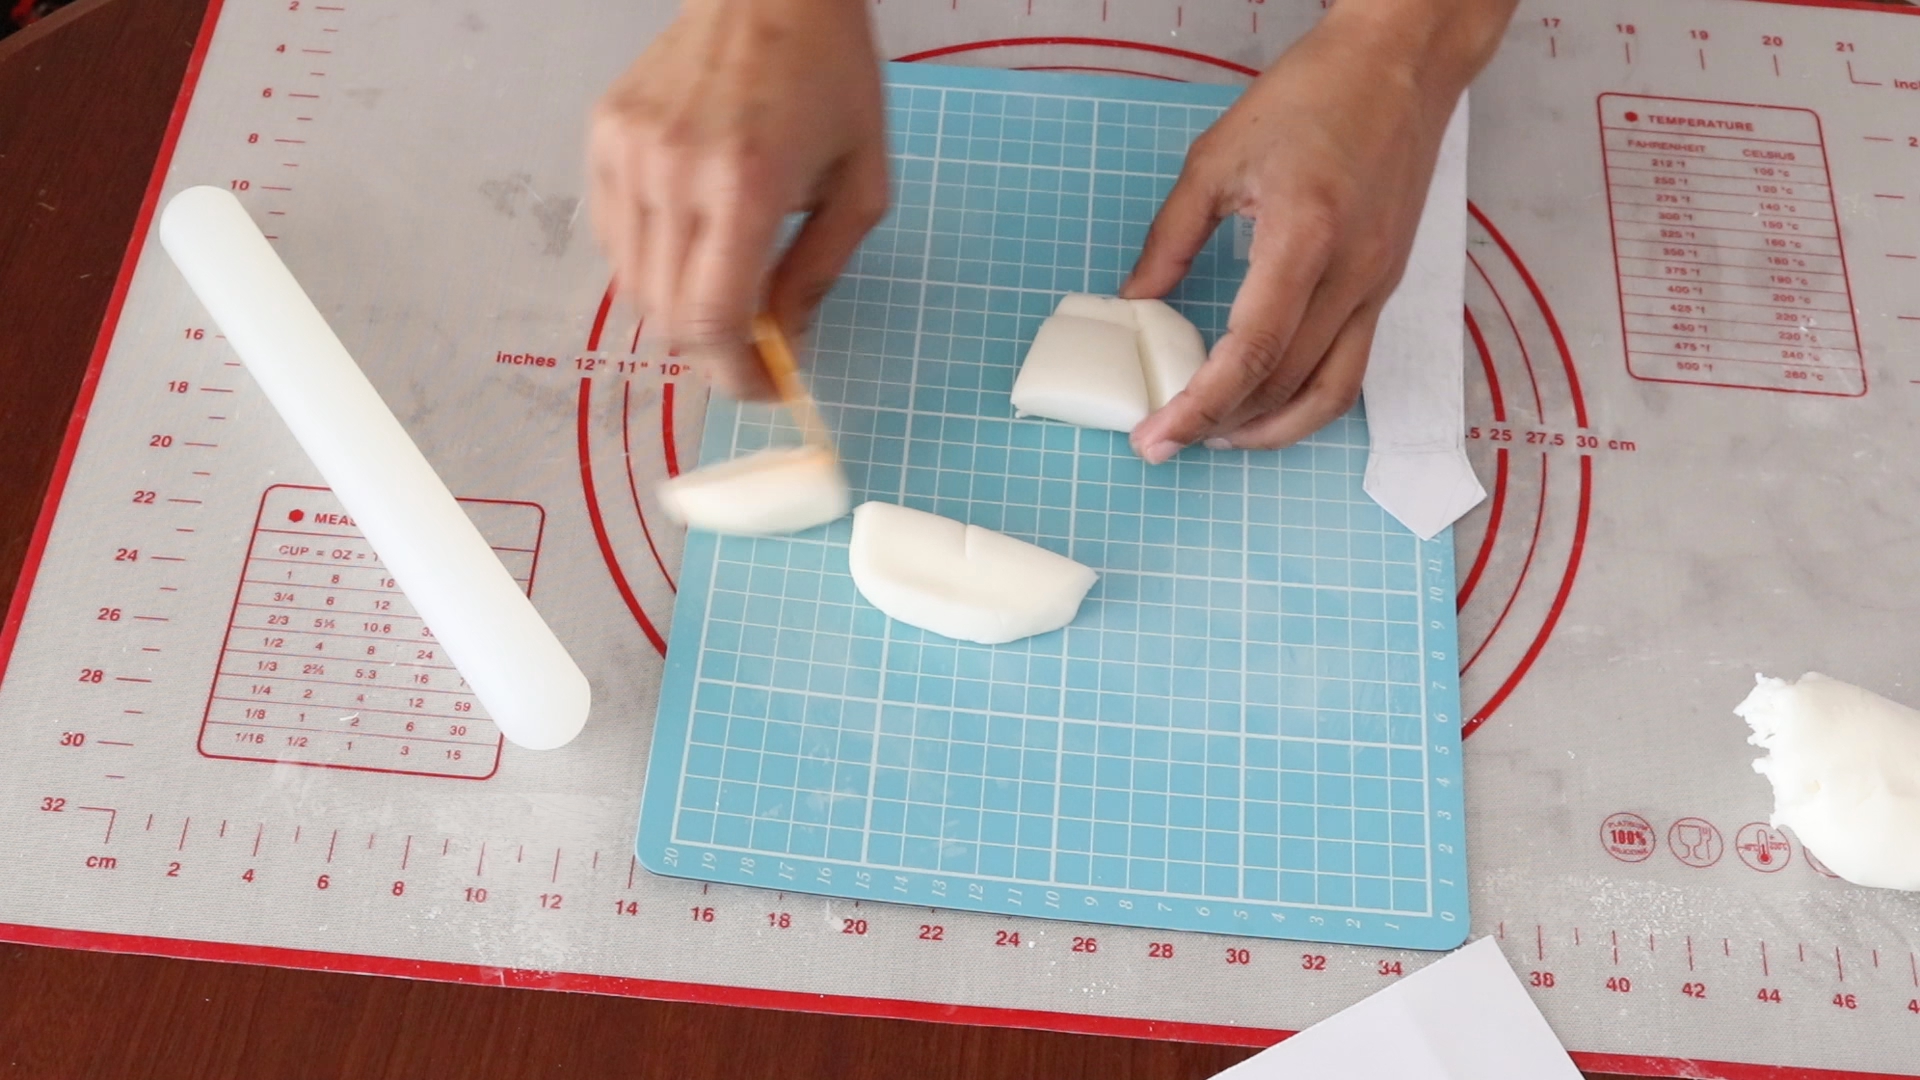
Keep that aside and cut the rest of the tie. I’m cutting it a bit longer so that I can trim it to the exact size after placing it on the cake. Add a tiny pleat at the top.
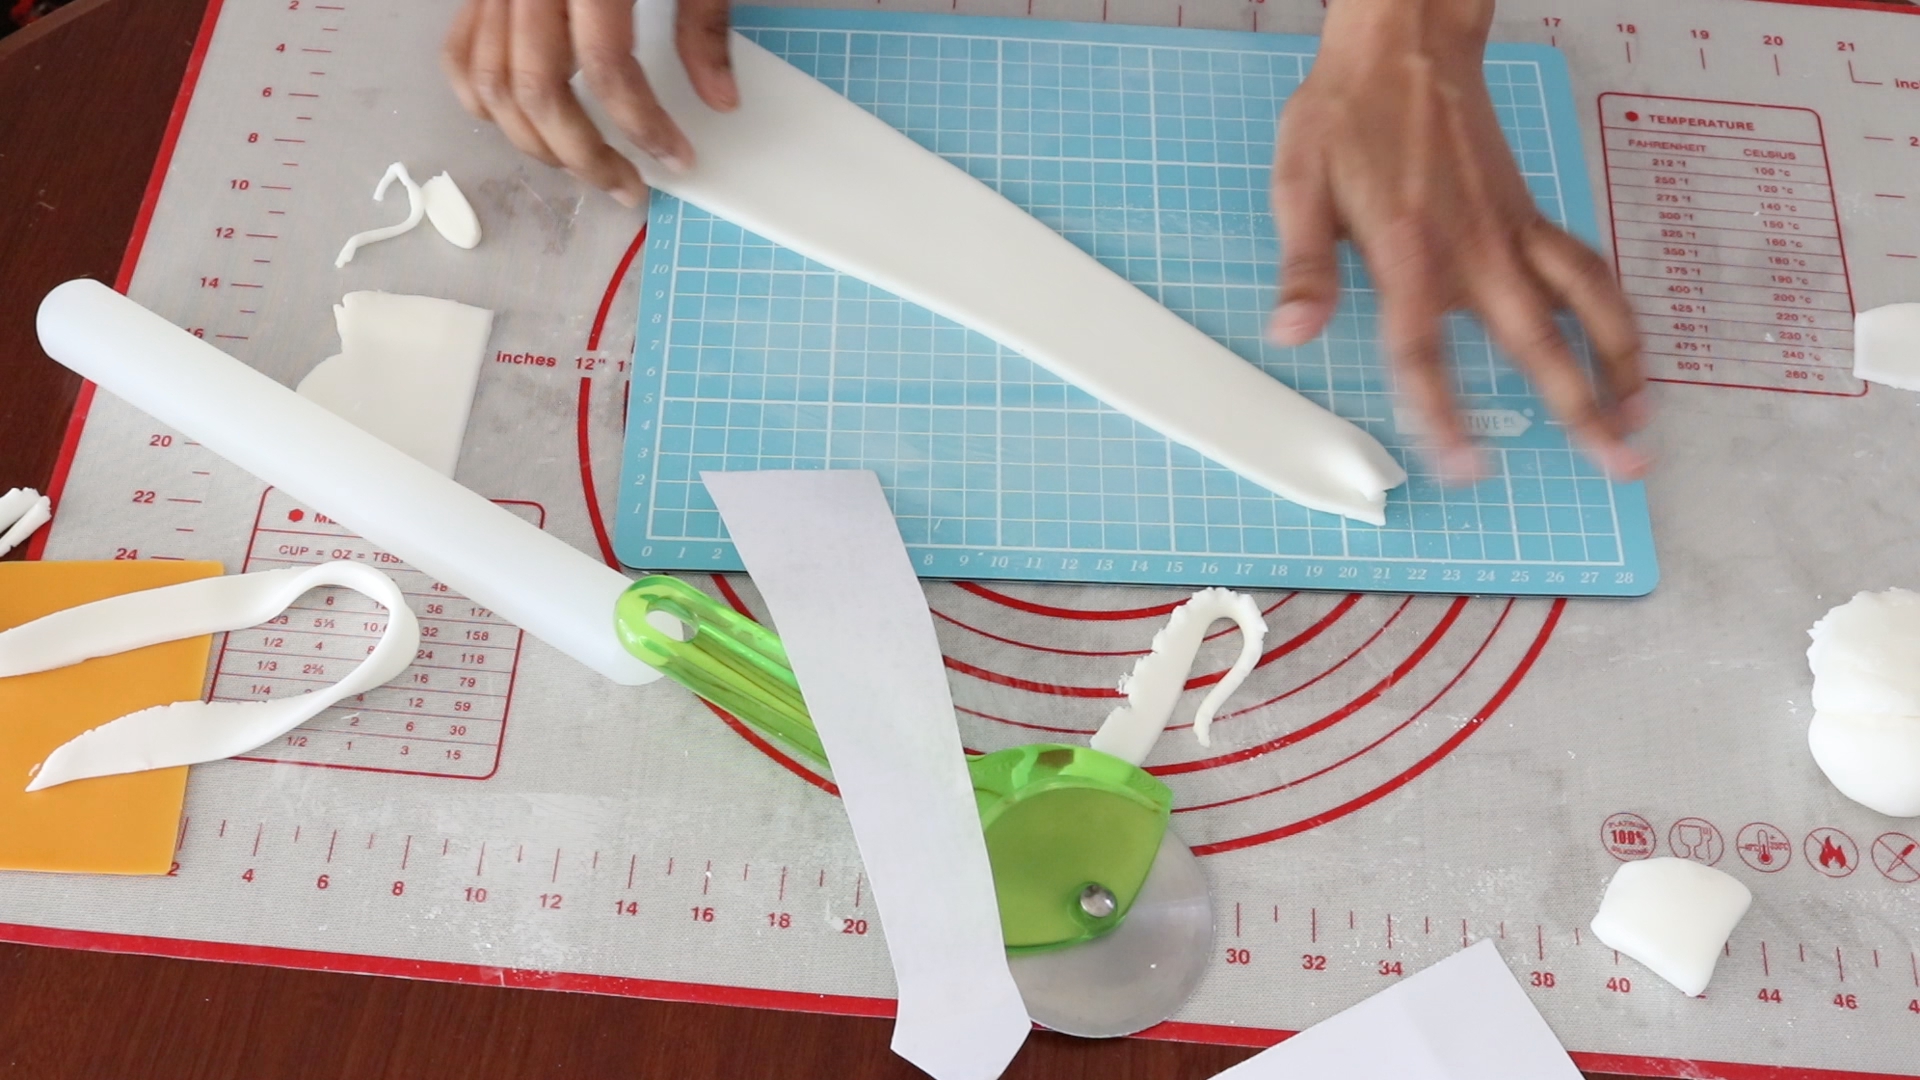
I decorated this tie with black, blue and silver stripes.
-
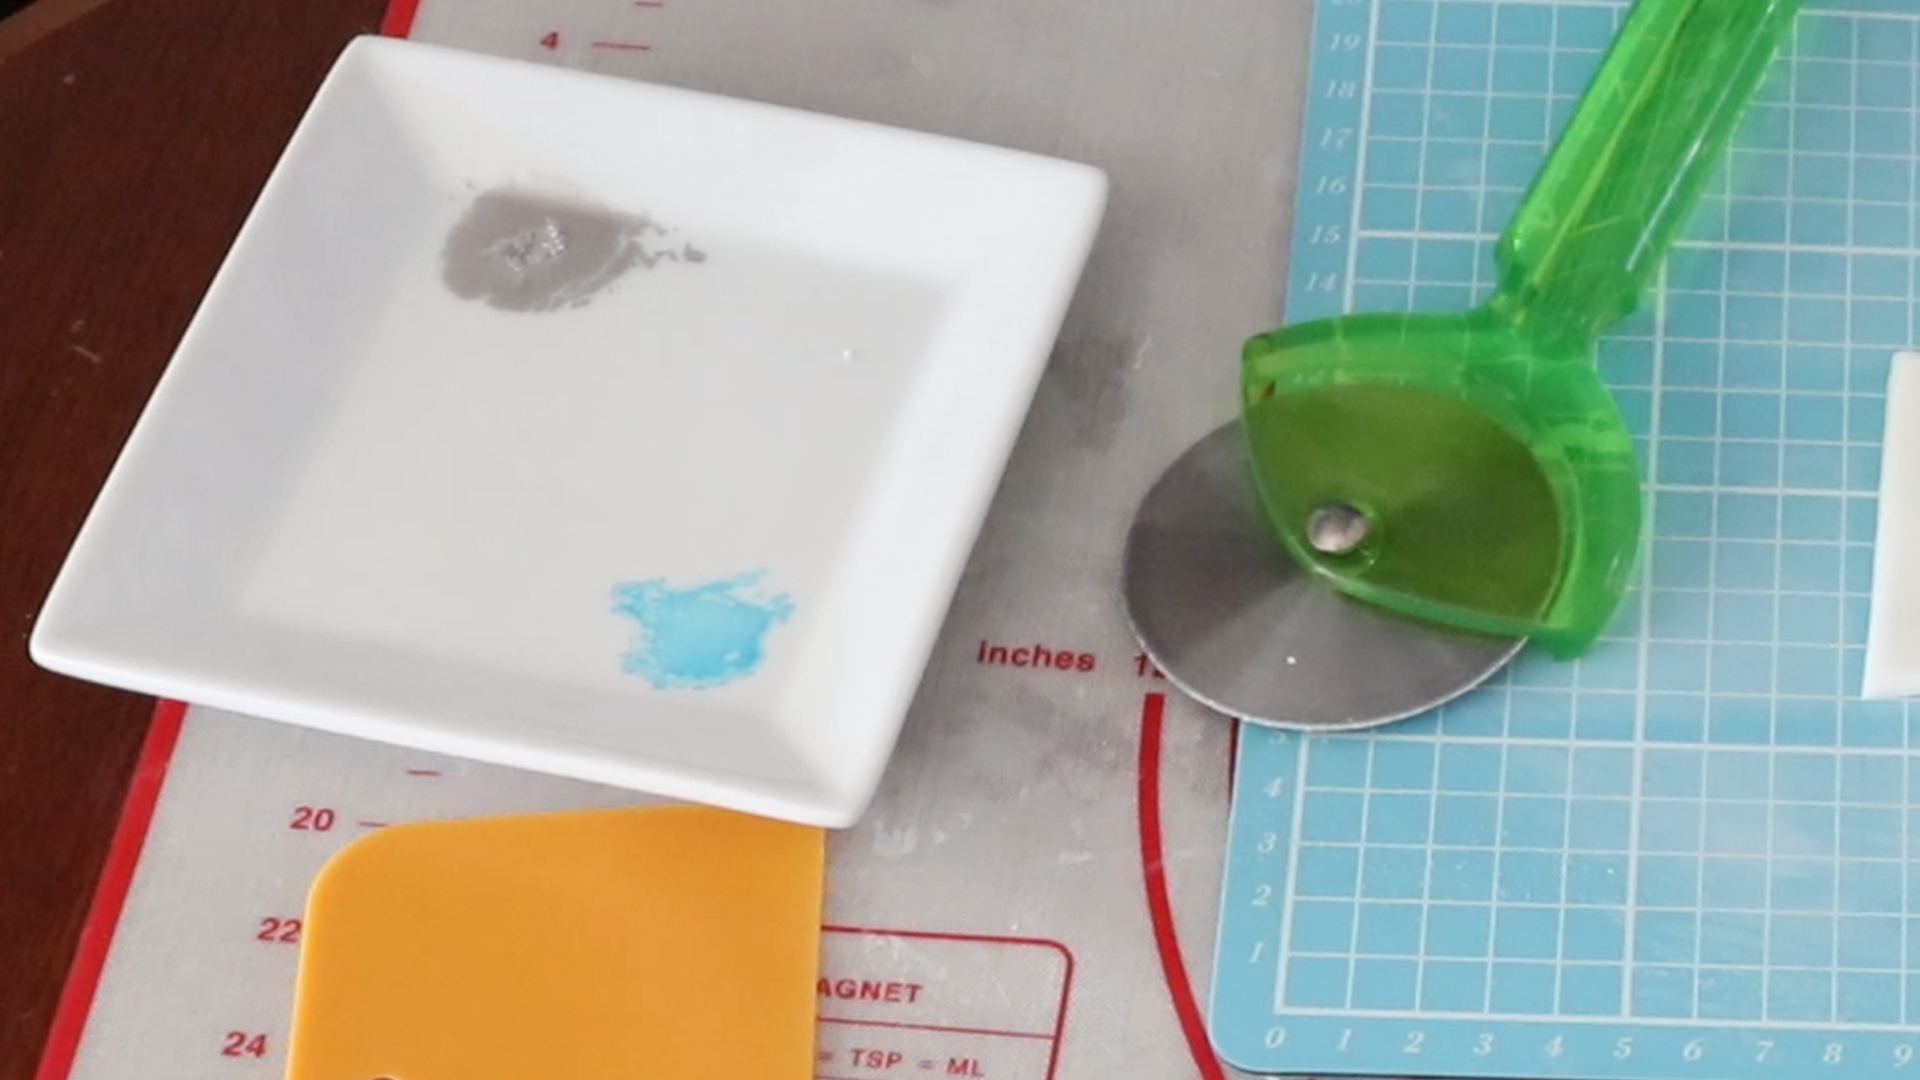
- I used silver dust mixed with some alcohol to paint the silver stripes.
-
- For the blue colour, I used an edible marker (just scribble on the plate) to get some paint onto the plate and diluted it with a touch of water, Actually, I tried the marker directly on a scrap piece of fondant to test the colour and it was too bright for my liking.
-
- For the black, I used gel food colouring.
Putting it all together
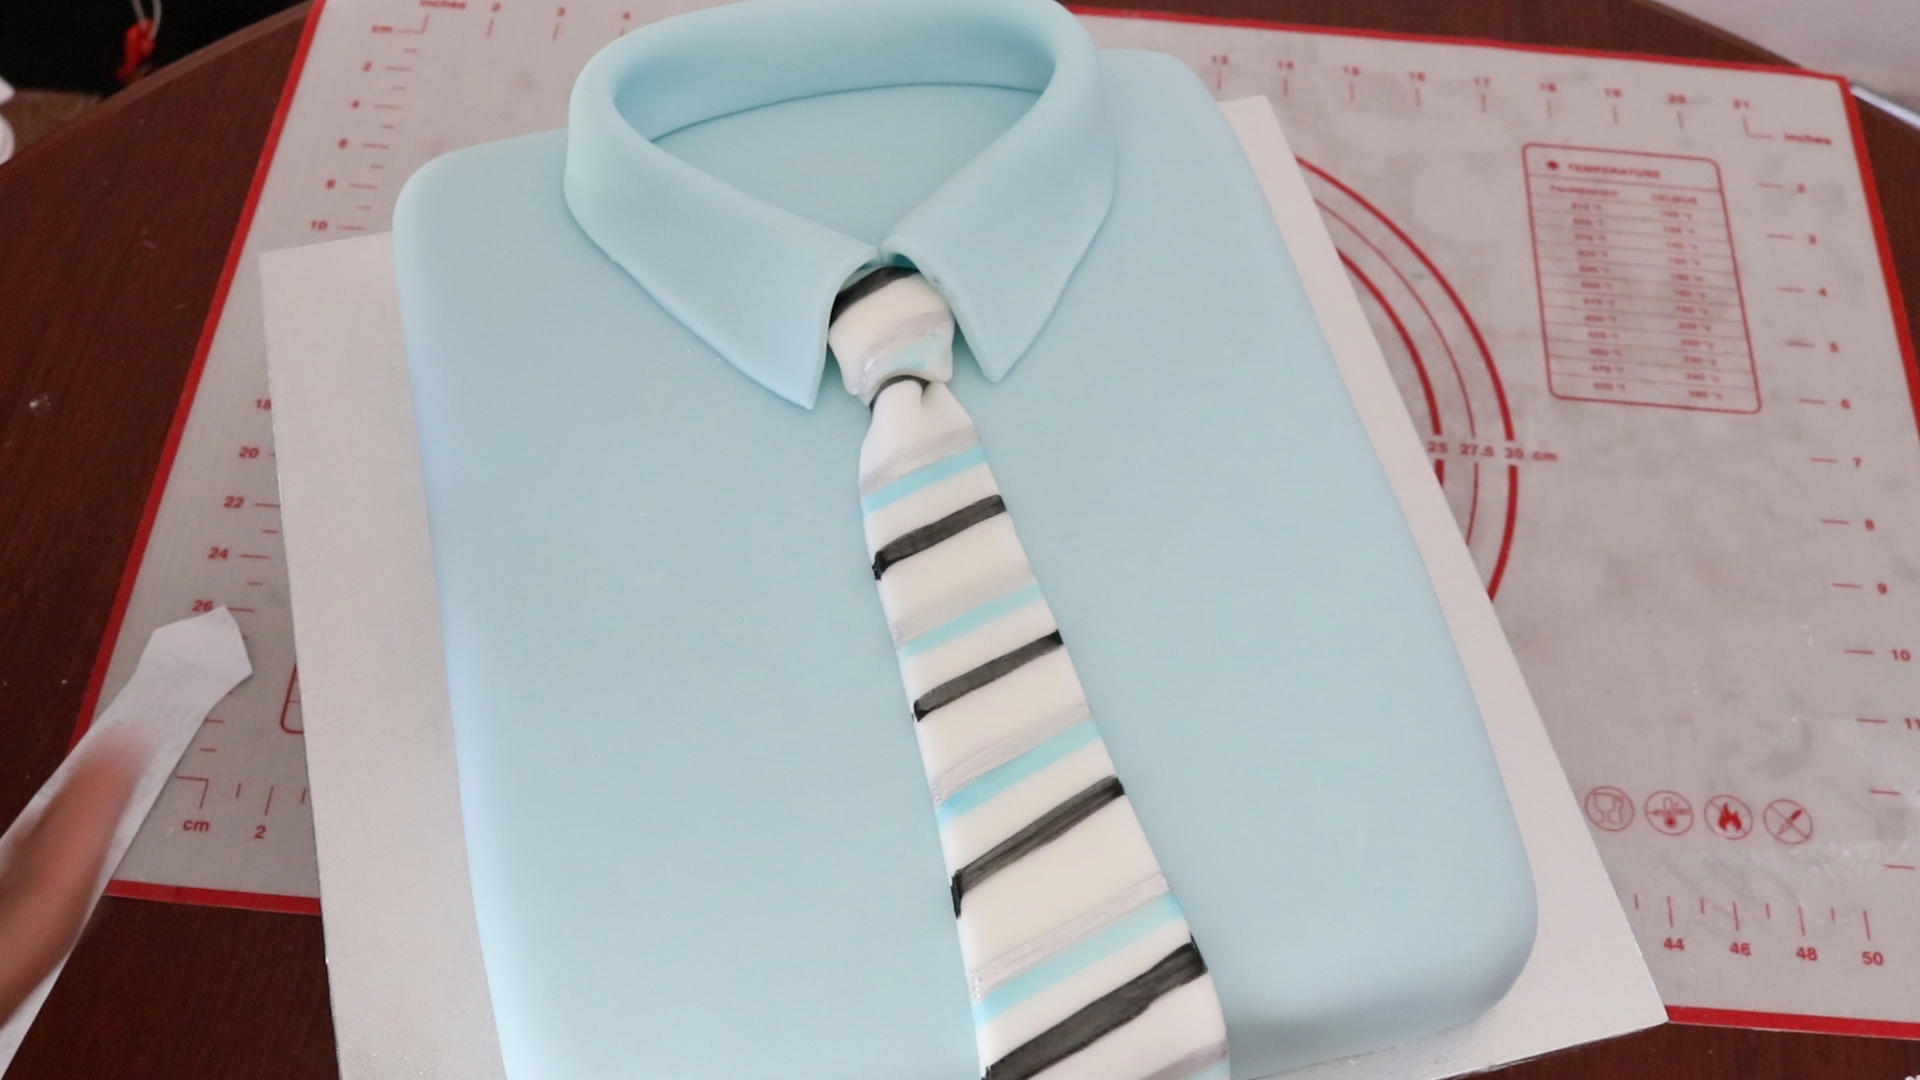
Place the tie knot in place, carefully lifting the collar and tucking it underneath.
Then place the rest of the tie, again place it under the knot and squeeze the knot to merge the two pieces.
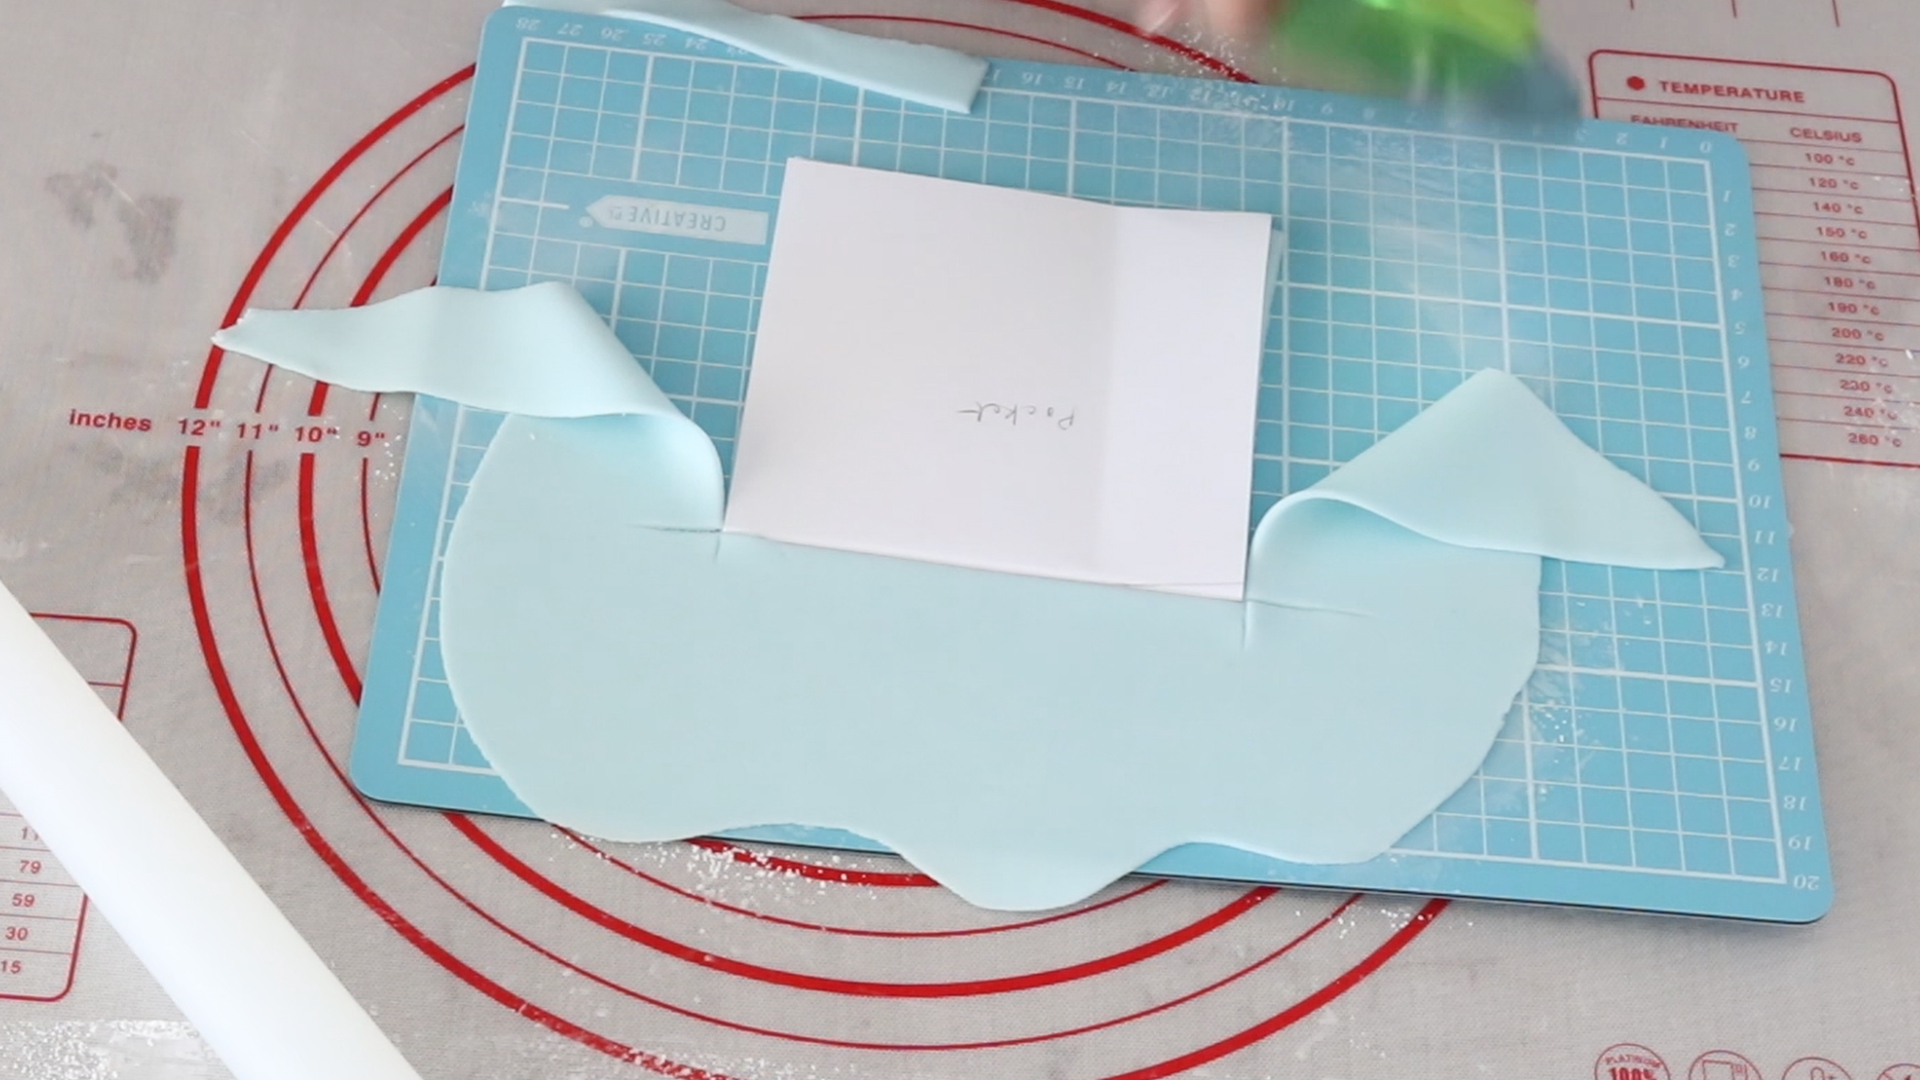
Place the pocket in place.
For the sleeve, I made a tiny pleat in the middle and then place the cuff on top of it so that it slightly overlaps.
Once I’m happy with the positioning of everything, I used some water to stick them in place.
Now I can cut the excess fondant off the tie and the sleeve
Stick two round buttons on the cuff.
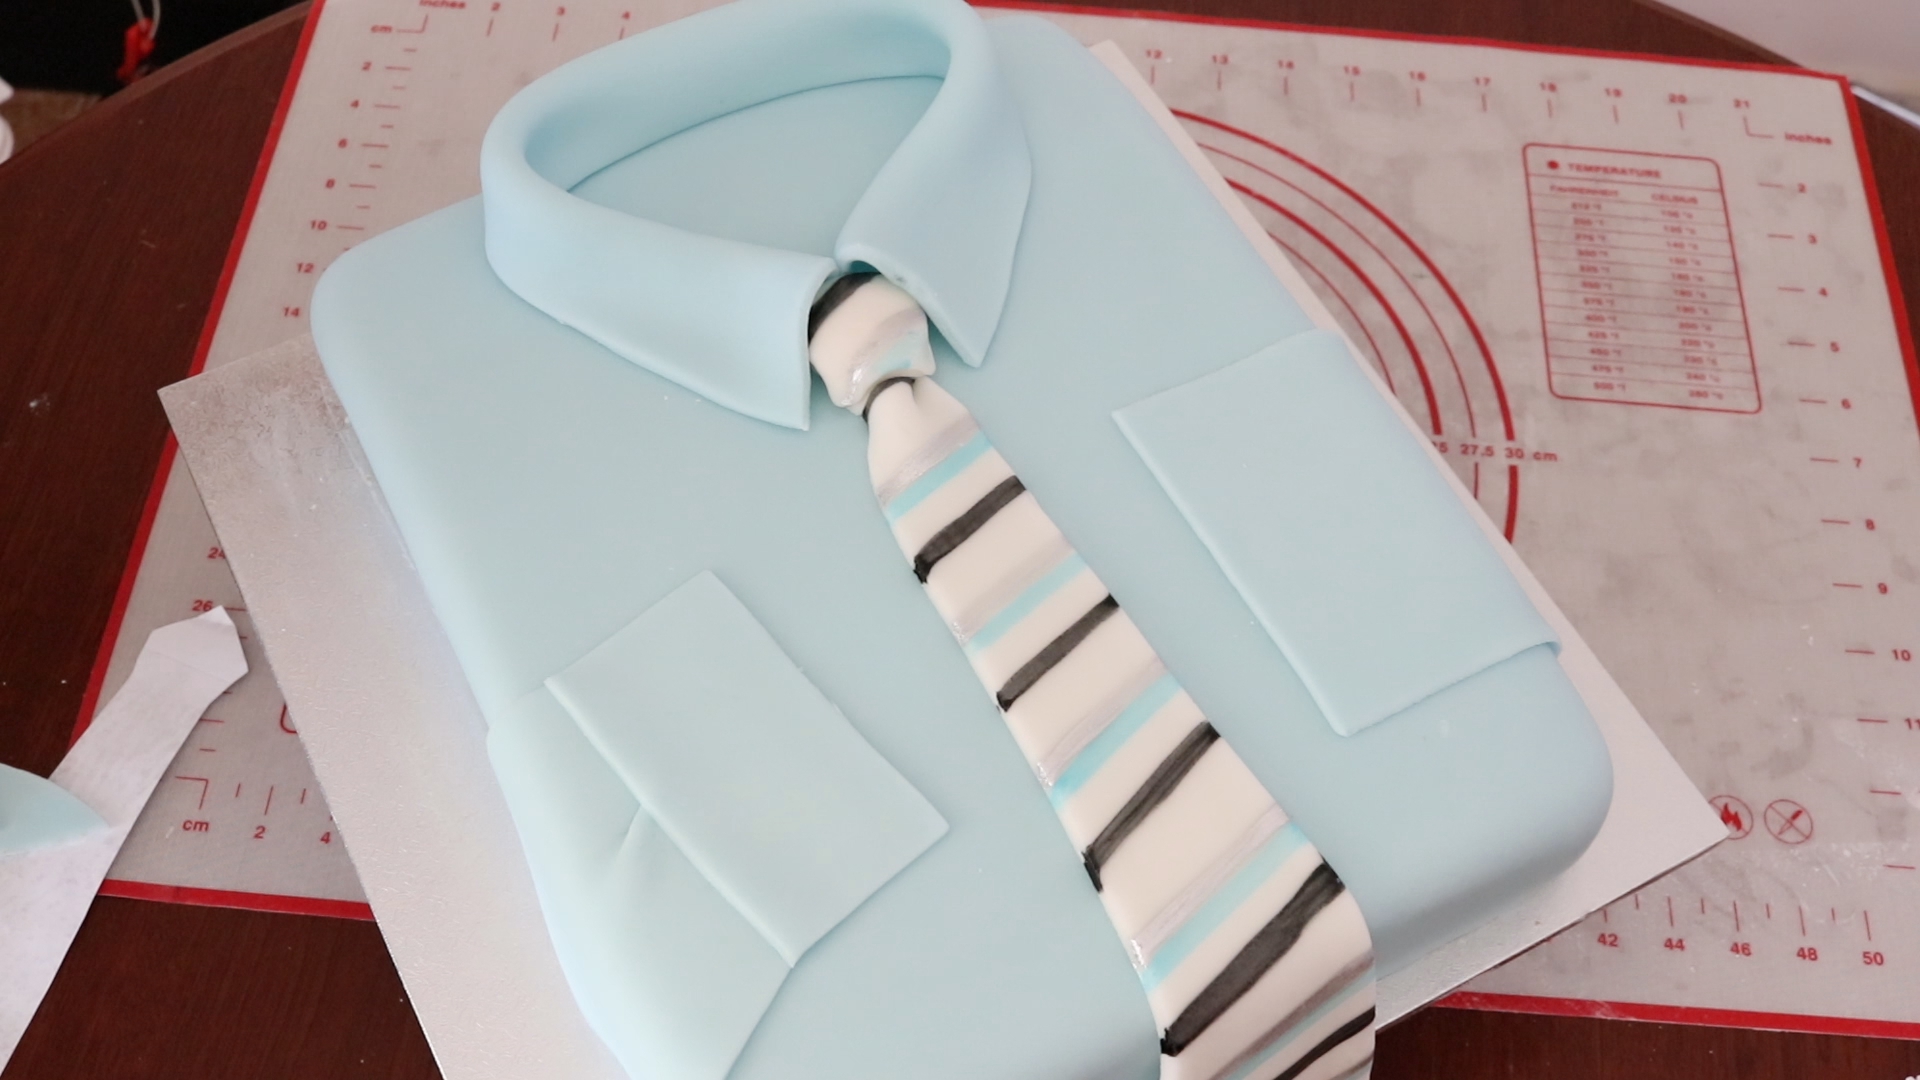
Finally add the stitching lines where necessary using a stitch marker tool, this adds to the look of the finished cake.
I also painted the initial in the pocket which makes it more personalized.
So here’s the final look.

The Template
A template would definitely make your life easier with this kind of cake. So that’s the reason why I created this template! You can download it by clicking the button below ![]()